Kolmiomökki – Cabin Living Room renovation

Meet Kolmiomökki – an original 70s lakeside cabin in the Finnish forest. A-frame cabins are not typical for Finland, which makes Kolmiomökki already almost one-of-a-kind! After four years of searching for a mökki (summer cottage in Finnish), it took 6 minutes from when it went to market to the first email, three days later the viewing was scheduled, offer made and accepted the same day. We got the keys in the end of June 2023, and it has been a journey since. 

For quite obvious reasons, the living space was one of the biggest projects, that took the longest to plan and execute. Here you find everything about it!

Coming up:

1. Introduction: The Vision for Change

Why We Decided to Renovate

Well. There was so much red. 

That’s the short answer. 

The red that was used to paint everything (!) by the previous owners was really…a choice. Especially the share being a really aggressive, stop-sign-red. As much as Kolmiomökki immediately stole our hearts, it was just as clear that the red needed to go. A cabin in the woods meant to radiate peace, calm and nature, and the red was a total antagonist to that. 

And let me tell you, it was not just the walls. 

Every cable, every skirting board, every trim, even the insides of the cupboards – EVERYTHING was RED. Sometimes it is really hard to comprehend why this was done. A moody dark shade of red or an accent wall, sure. In addition to the paint, most of the textiles from curtains, to carpets, cushions and flowers – it was all incredibly red. I don’t know what else to tell you. 

It also felt like the layout could be improved, but this wasn’t as clear of a decision to make. An A-frame, as wonderful as it is, does limit possibilities in terms of furniture placement and storage. The furniture itself was also a bit of a question mark, beautiful wooden table and chairs, a glass cabinet and a bunch of smaller tables were left as well. The catch: everything was painted in a thick, white paint. The paint was chipping off in parts, was sticky and dirty in others, and the contrast of white against the red was just very concerning altogether.

We knew that the painting was last done in 1996, the same for the linoleum floor. It wasn’t communicated what it looked like in its original state. All the bones, such as the windows, doors and electric fitting were the original ones from then 70s.

2. Before the Renovation

What We Started With & Planning

The initial project of Kolmiomökki started with inventory. The previous owners had taken some of their belongings with them, but left 90% at the cabin for us, with countless cupboards, drawers, boxes and hidden storage bits to go through and investigate. 

It took probably 13 full cars of stuff for the garbage dump, and several boxes for donation, before we could really start with a vision of what the place could be. 

This alone was a project that took many weeks and months even, many trips to the cabin and a lot of back and forth. 

Regarding the layout, the limitations were quite straight forward: the fireplace cannot be moved, and there was no need to add additional windows in the slanted walls. Those walls themselves are challenging because they limit the action living space a bit and it’s difficult to add furniture.

In the end, it came down to this: 

  • Paint the walls, and cover the slanted walls with wall paneling
  • Remove the old linoleum flooring
  • Update the electricity, including moving the main fuse box and re-doing all the cables and fittings
  • Upgrade some seating
  • Refresh the extendable table with removing the white paint

Key Challenge: The window front

It was clear from the start, that something had to be done with the window front, but it wasn’t a priority. The view out to the lake is just stunning and deserved more of a focus and attention, but updating windows and doors of a house is a huge investment. Especially with a remote cabin in the woods, and the unusual A-shape, also a logistical challenge in terms of custom design, accessibility and time frame. Renovations like this can only be done within a short period of time, when it’s warm enough but not rainy and not during the holiday season. 

We had put the window project on the backburner at first, because it didn’t feel necessary or essential. 

This changed after the first winter. It became clear, that Kolmiomökki had terribly insulation, and that this came mainly from the thin and flimsy, yet double-glazed wooden windows. 

It was not only extremely cold in the house, but at some point there was actual frost on the inside of the windows. Any moisture indoors is a red flag, since this can indicate mold or rot. So this turned into a priority. 

Here's the inspiration picture I found on Pinterest originally, that I just couldn't let go. This is what I showed our builders when we took the first steps towards getting this show on the road:

Kolmiomökki had two upstairs windows, downstairs a window in the kitchen, the front and main entrance door, and a large, very long window and double wooden door out to the terrace, overlooking the lake. The dream was to turn this into an all-window-front, with sliding doors in the middle, allowing a proper indoor-outdoor-living moment.  


We did want to keep the triangle windows on the lower floor, and while we discussed opening up the ceiling and turning the living space into an open gallery, it would mean we would lose a bedroom/the designated office space. We decided to keep both levels and focus on the view out, not up.


I learned quickly that sliding outdoor doors are not common in Finland. Those immediately catapult a project like this to a whole new level of complex and cost. 


At first, it wasn’t certain that the building structure could even support the massive weight of these new door plans, since with an A-frame the foundation is beneath the slanted roof walls. Thankfully, an inspection put us in the clear and we didn’t have to get additional enforcements put in, which would have slowed the project down immensely and would have required permits and, more cash. 

3. Planning & executing the renovations

Choosing the Style and Color Scheme

Finnish design and architecture from the 60s and 70s is my personal favourite style, it’s a mixture of traditional mid-century modern with Finnish influences and iconic features. Finding a cabin from this time period was always a dream so I could curate the most perfect place in that theme, and when it actually came to it, I couldn’t believe it. The aim for the renovation was to update the place, while honouring the charm of the era and respecting the work of the family that originally built it. 

Well, this being said, with what we were working with, it wasn’t exactly a blank canvas. As inspiring as the space itself is, I really struggled seeing beyond the in-your-face-red for the longest time.

I tried to focus on some of Aaltos principles:

Paint & colour choice

With Alvar Aalto  being one of my main inspiration for the interior (revolutionary, I know) I wanted to refresh my mind and thoughts, so I took my paint samples and a friend to the Alvar Aalto house to compare colours and tones. This sent me down quite the rabbit hole of trying to find the correct shades. Especially challenging was the perfect white-but-not-really-white colour. I wanted to brighten everything up as much as possible, without it feeling sterile or cold. 

The interior of the Aalto residence in Munkkiniemi (which you can visit here) is painted in the perfect shade of “light” – and my most perfect match was the colour Sandö from Virtasen

Thankfully, we got to borrow a professional spray paint gun from a friend, and that was a lifesaver like nothing else. It was a finicky job to set it up, but once that was done the walls were painted to fast that I still can’t believe it. If you have the chance to use a spray painter, do it. 

It took 2-3 coats of paint to cover the red. Even though we had plans to cover the slanted walls with the wood panels, we still painted all the walls. I think any red peeking through would have driven me mad.

Wall panelling


When thinking about painting, we decided on natural wall panelling quite early on and had the wooden boards in the space to acclimatise for many months already. The panels would go mainly on the slanted walls, but would leave smaller parts of the wall behind the fireplace and around entrance area still to be decided on. The decision fell upon the natural unfinished wide pine boards from Cent. More thin or narrow boards would have possibly felt a bit too modern for the place, but to modernise them just enough we decided on installing them vertically. This was definitely the right choice, it elongates the walls and makes it feel more open and tall, without making it too trendy.

Once installed, they were finished with a UV-safe oil to prevent them getting yellow with sun and time. The translucent oil was sold out unfortunately, but the naturalising oil that we ended up with didn’t really change the colour of the natural wood at all. As long as this wouldn’t turn white-washed in some way, all was well! 

It took a circular saw and a nail gun to get these up, but once the process was going, it was done in 2 half days. 

Flooring

This is still an ongoing project and perpetual question mark at the time of writing.

It was pretty clear, that the old linoleum sheet floor had to go. 

With the house being a 70s building, yet with the majority of the current interior having been updated in the 90s, it was ALMOST certain that there wouldn’t be an asbestos problem. But for peace of mind, a sample of the floor and glue was sent for a test and thankfully we got the all clear from that. 

Removing the linoleum itself wasn’t a huge problem, but the glue it was attached it was a challenge. It took a wallpaper steam remover and several tests of solvent to get the off the floor, and it was a tedious job. 

For now, the floor is the bare pine floor that is also in the upstairs part of the cabin, but let’s see where to go from here. 

The dream: retro style cork flooring! This would fit the space SO well, a soft and natural material that also insulates well, but it’s also an expensive assignment. For now, the floor and lots of carpets work, and the winter will show how pressing nof an issue the floor will be.

4. Decor Details: Furniture, Textiles, and Accents

Using what's here & Adding New Feature pieces

It was always important for us to use what’s available to us. 

A cabin, and renovations of this extent are a huge investment and time commitment. As many bits from the previous owners that were bad quality or not our style preference, there were as many beautiful pieces, all original or with some TLC needed. Such as the dining room table that was white, but had a beautiful birch top hiding under the layer of paint. 

The place was entirely liveable and equipped without really needing anything additional or new, but of course it wasn’t all us, some things were old and in bad shape, broken or just in need of an update. 

Now, for a second hand, retro & vintage and thrift store lover like myself, alone just going through everything at Kolmiomökki was a dream come true, but it was also a great occasion and reason to scout for all kinds of beautiful things. Admittedly, I maybe already had one (or give) boxes with things for a future cabin, even when a mökki was still very far away. 

Storage

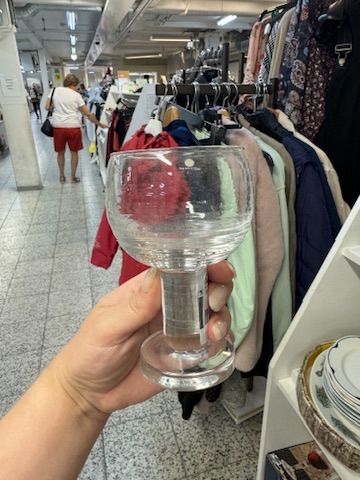
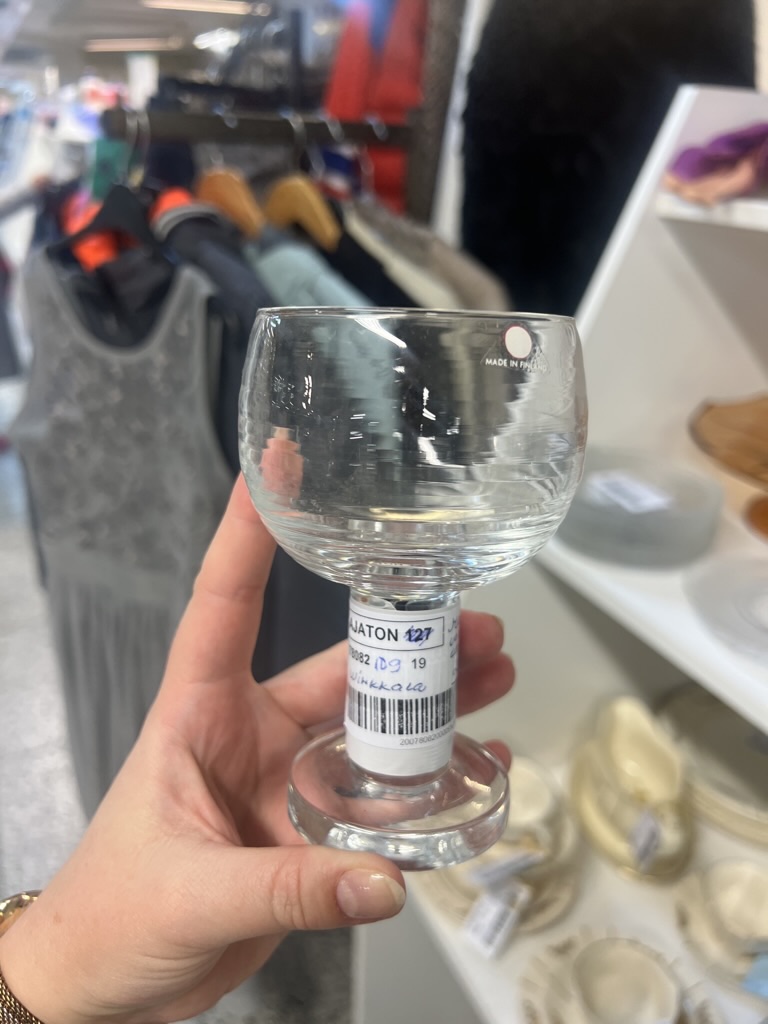
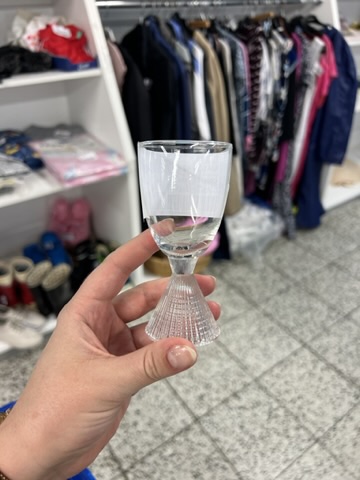
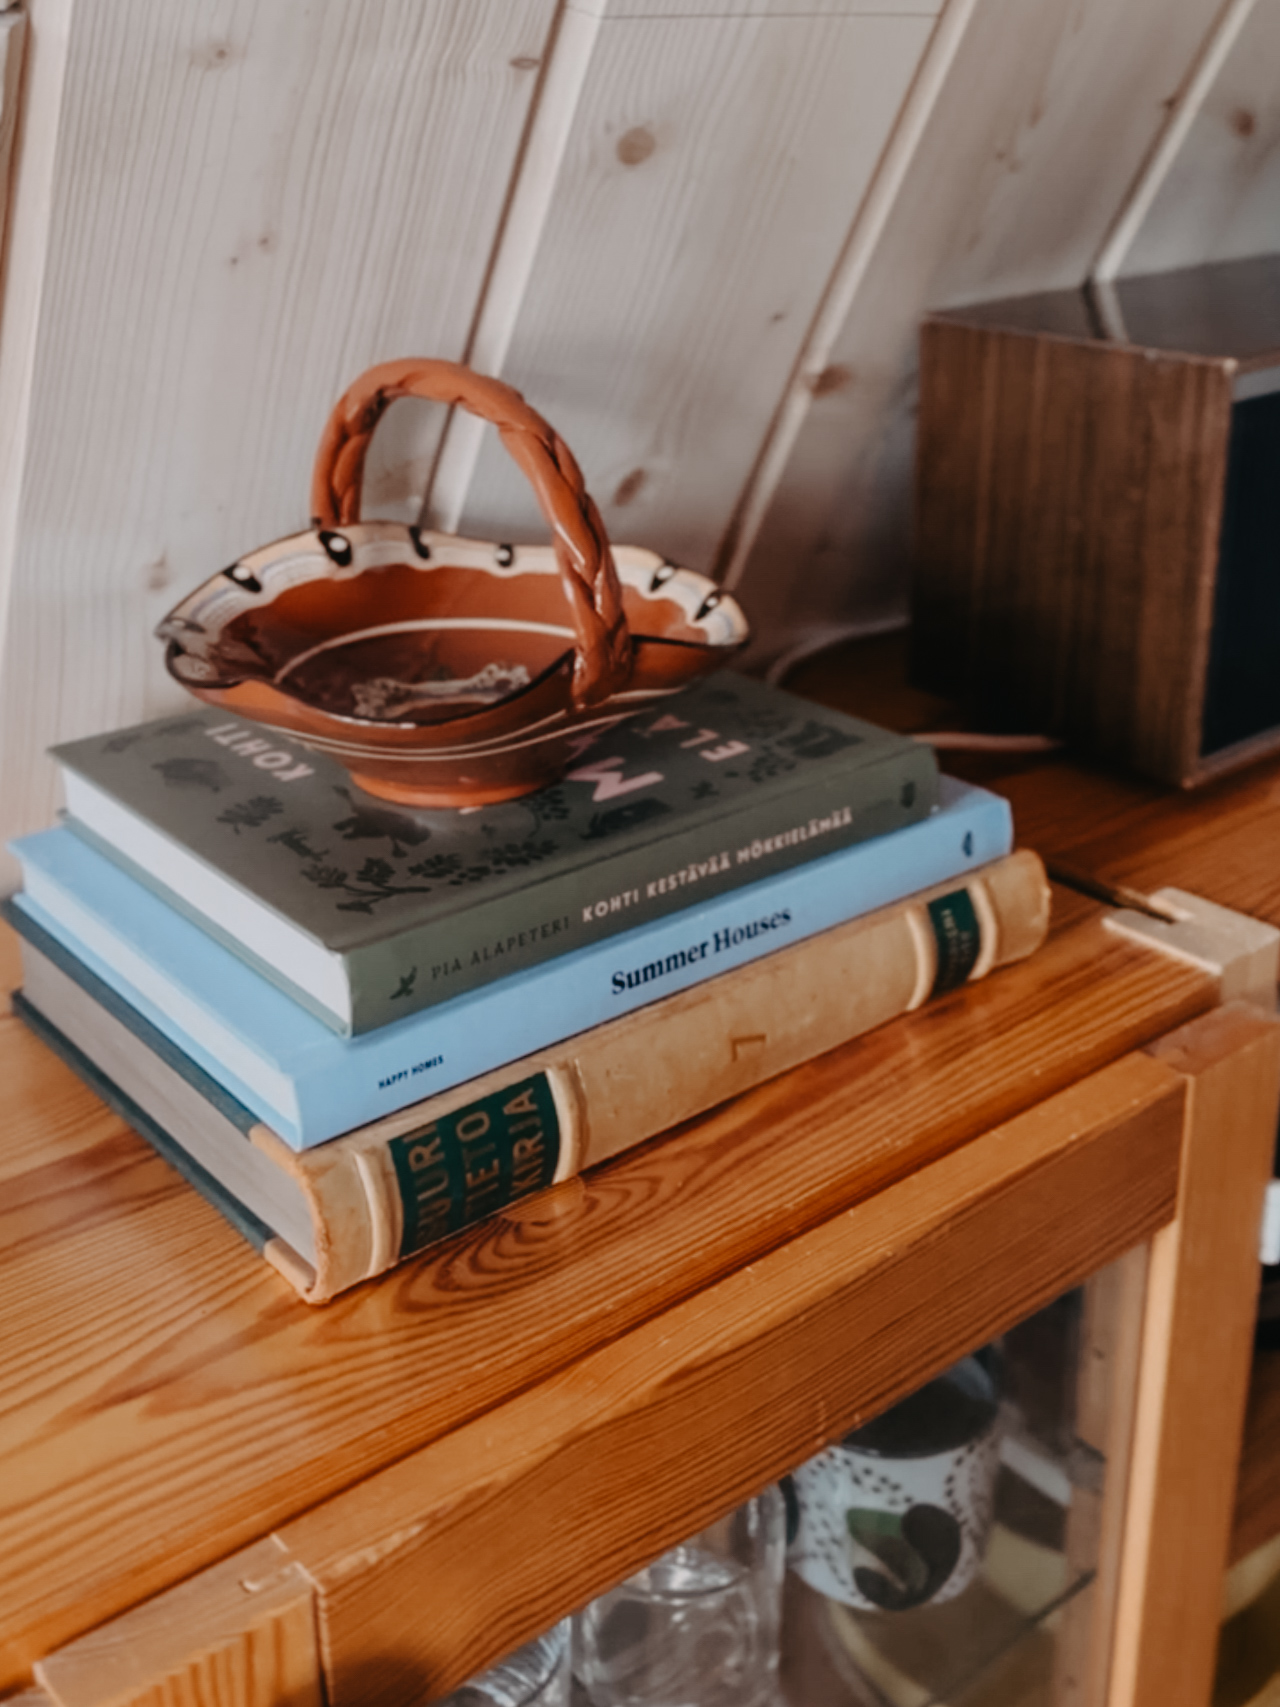
With slanted wall, storage was always going to be a tricky situation. Any pieces too high would just eat away space, and would immediately make everything feel smaller. So it had to be rather long and narrow, but not high. After a lot of research trying to find a good sideboard, I ended up with a retro Lundia modular shelf. This classic Finnish furniture brand is well known for timeless designs, and this very simple shelving system can be individually put together with different heights, depths and widths. I went for a configuration of 50cm, 100cm and 2x 80cm in width, with a height throughout of 78cm. I added a couple of doors, and voilà. A well styled simple shelf can look really beautiful, I tried to keep it full of books and glassware. 

In the hallway area I also used Lundia shelves, but with a drawer unit integrated. Perfect to hide away the not-so-pretty things. 

Seating

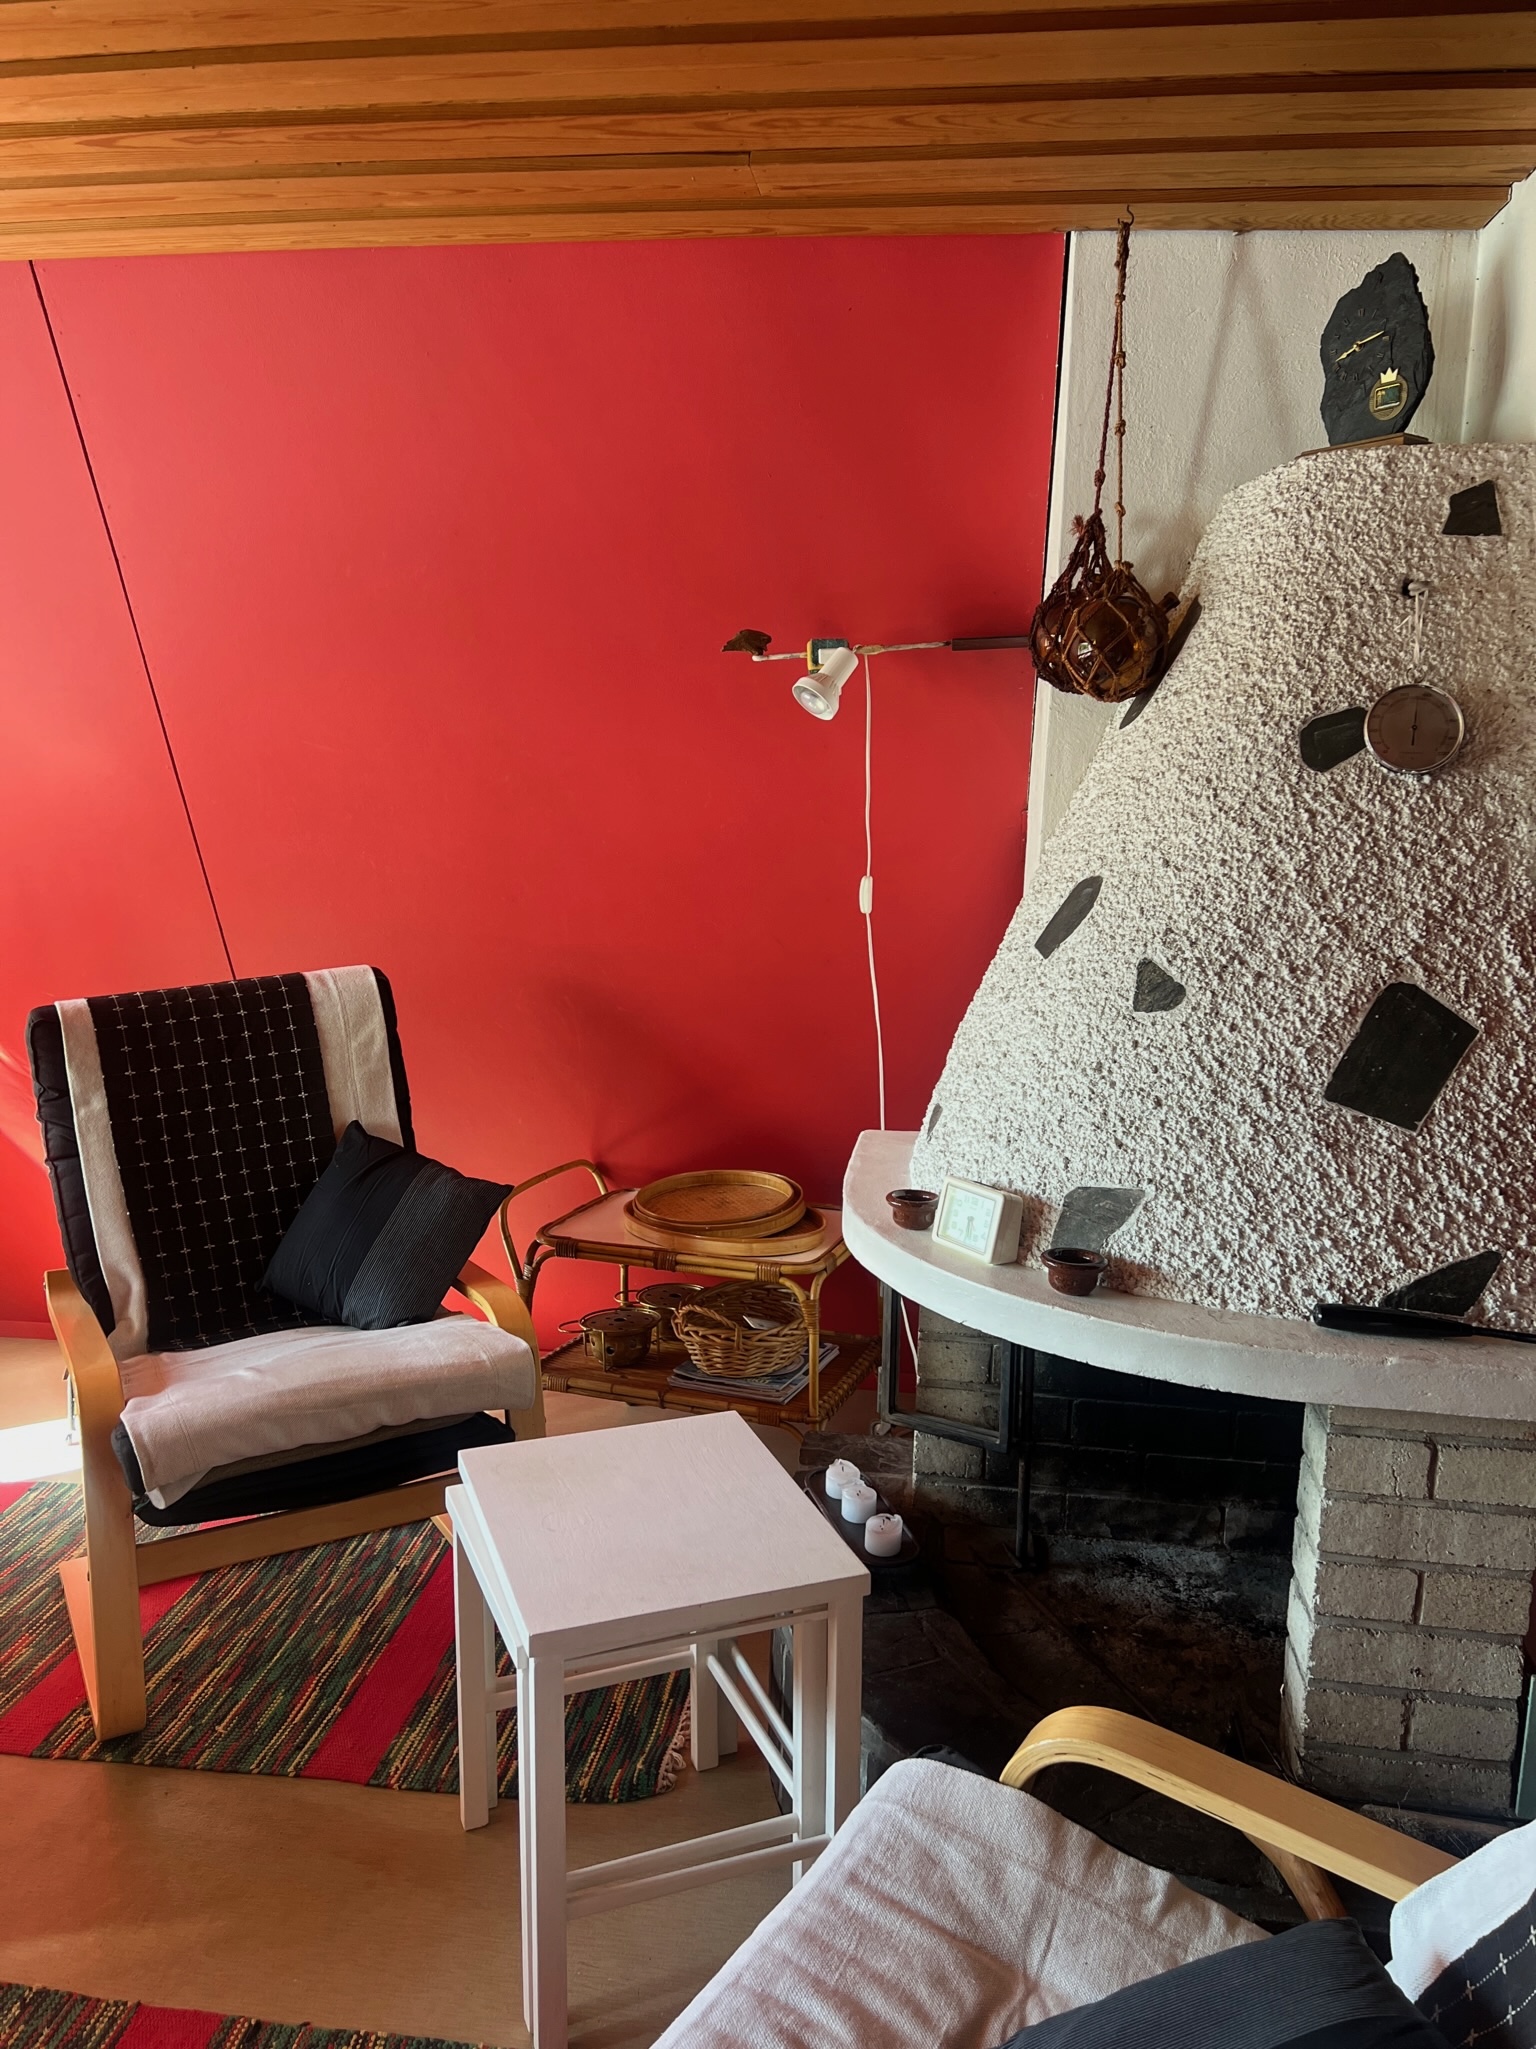
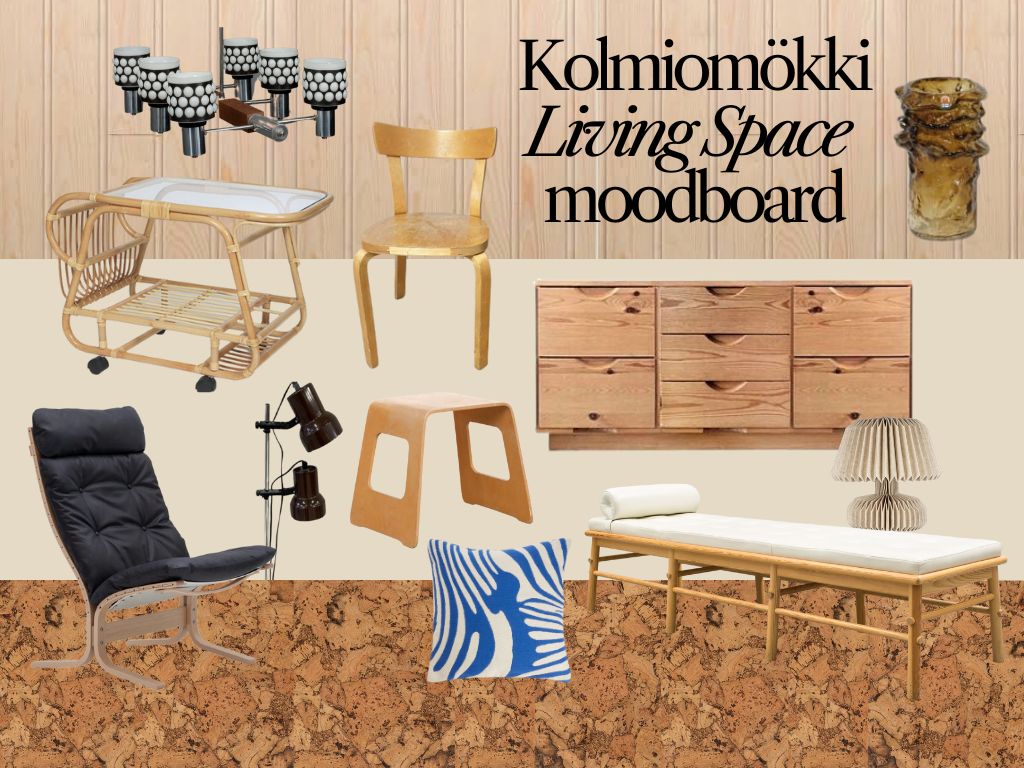
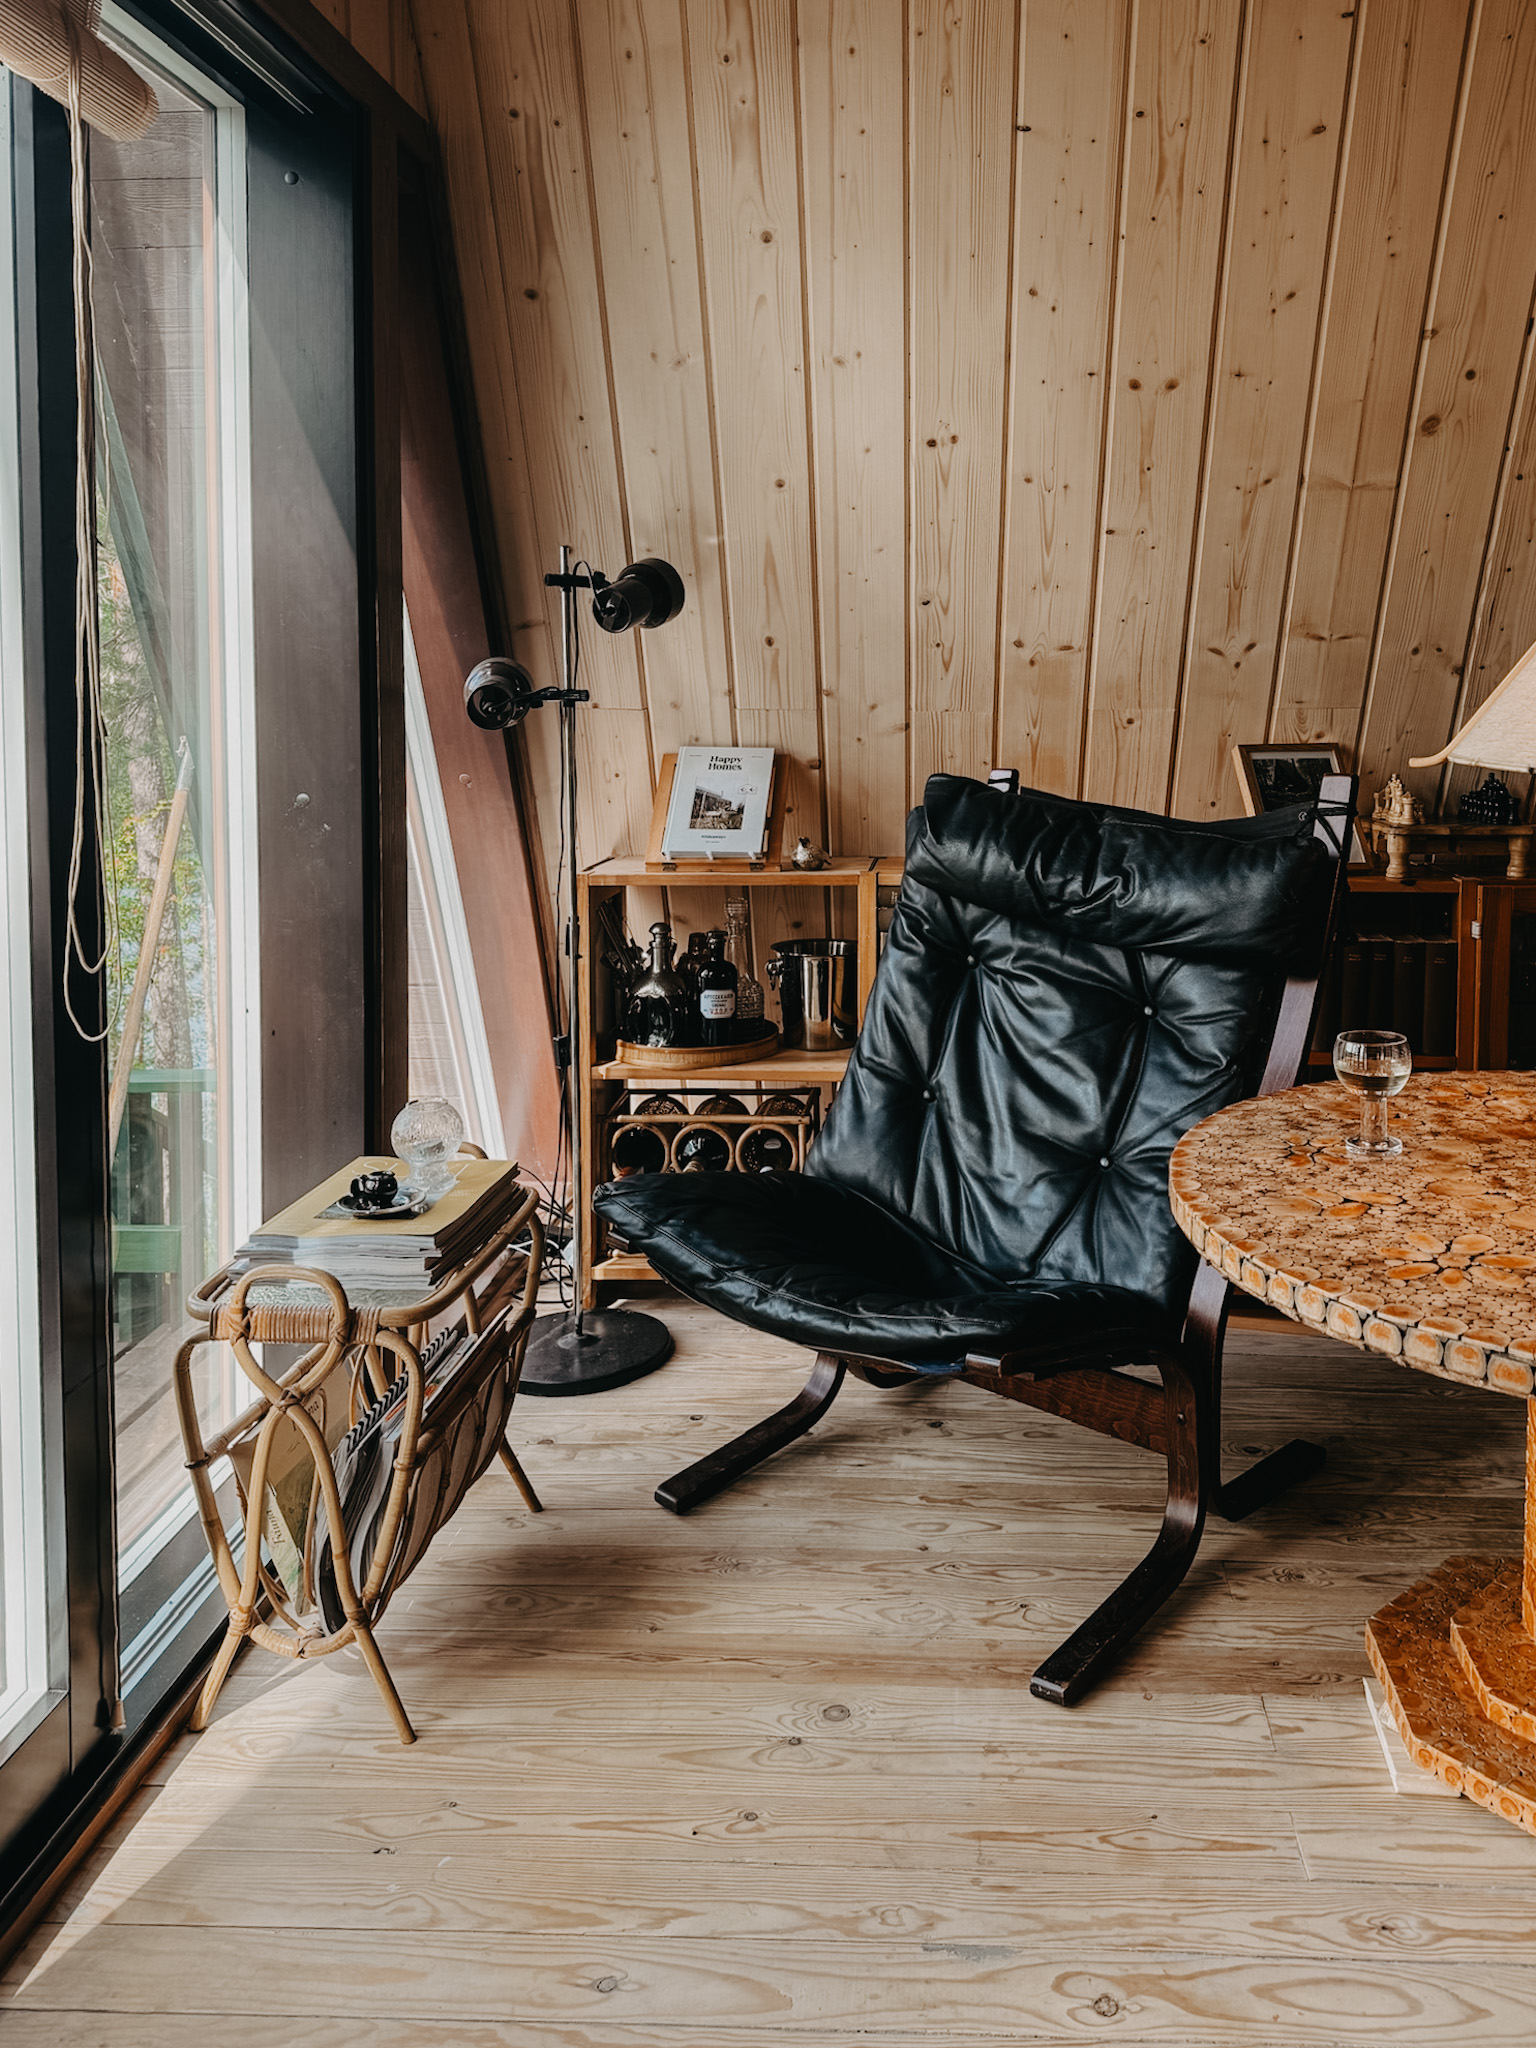
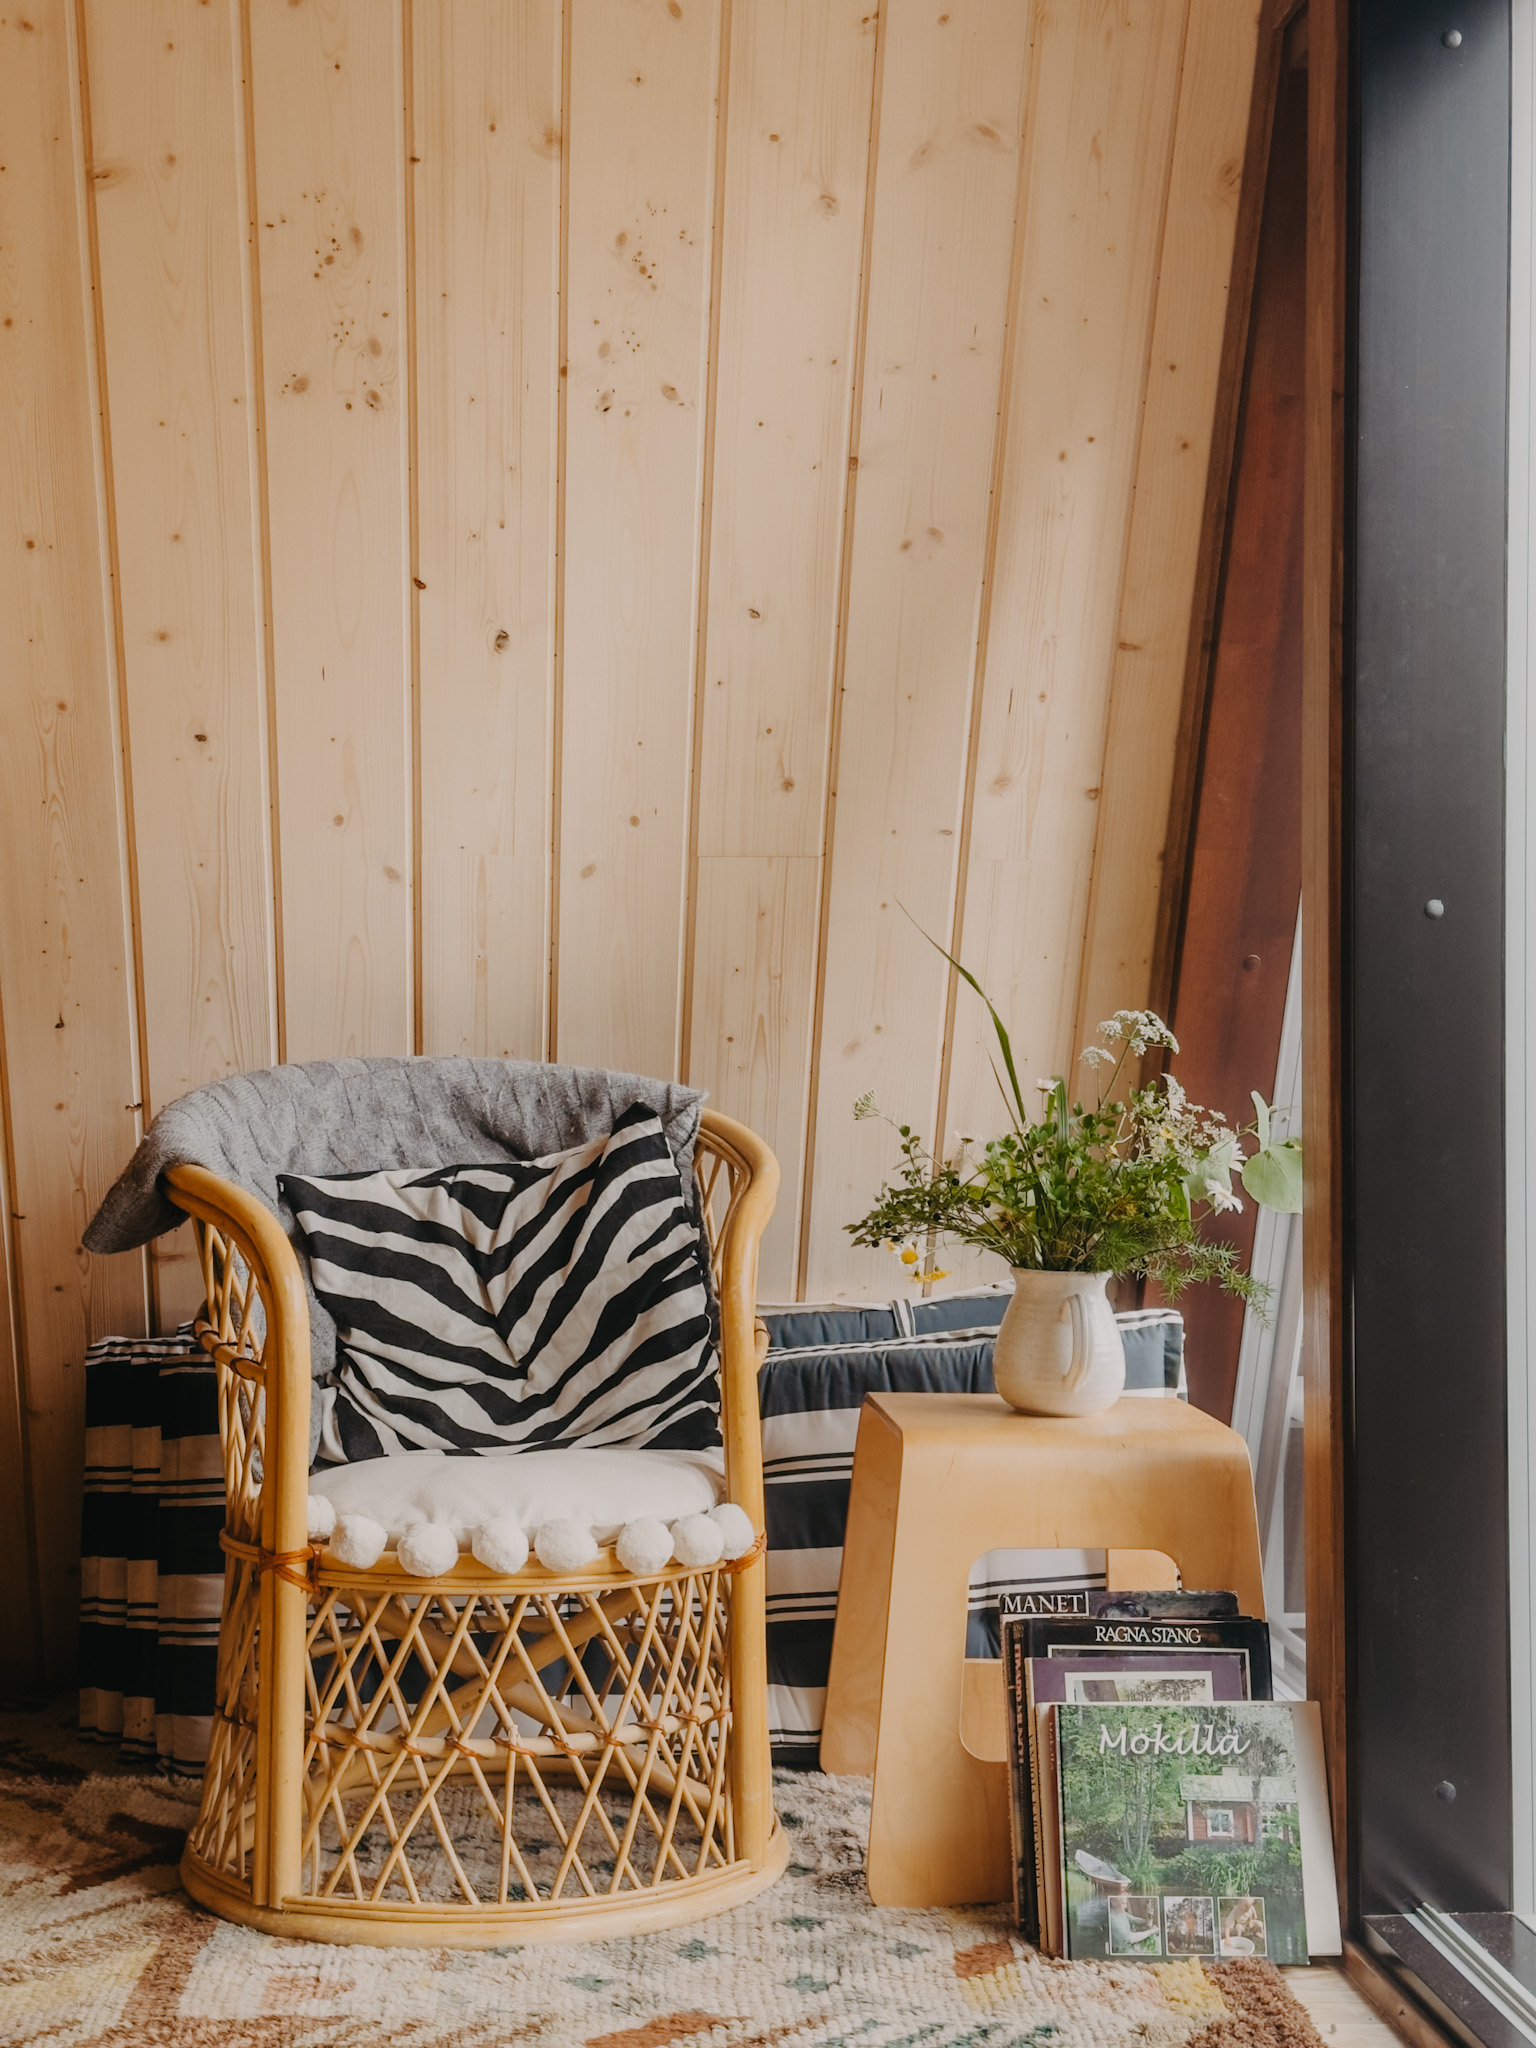
I might have too many chairs, so this was the moment when my small collection of Artek chairs finally found a home. 

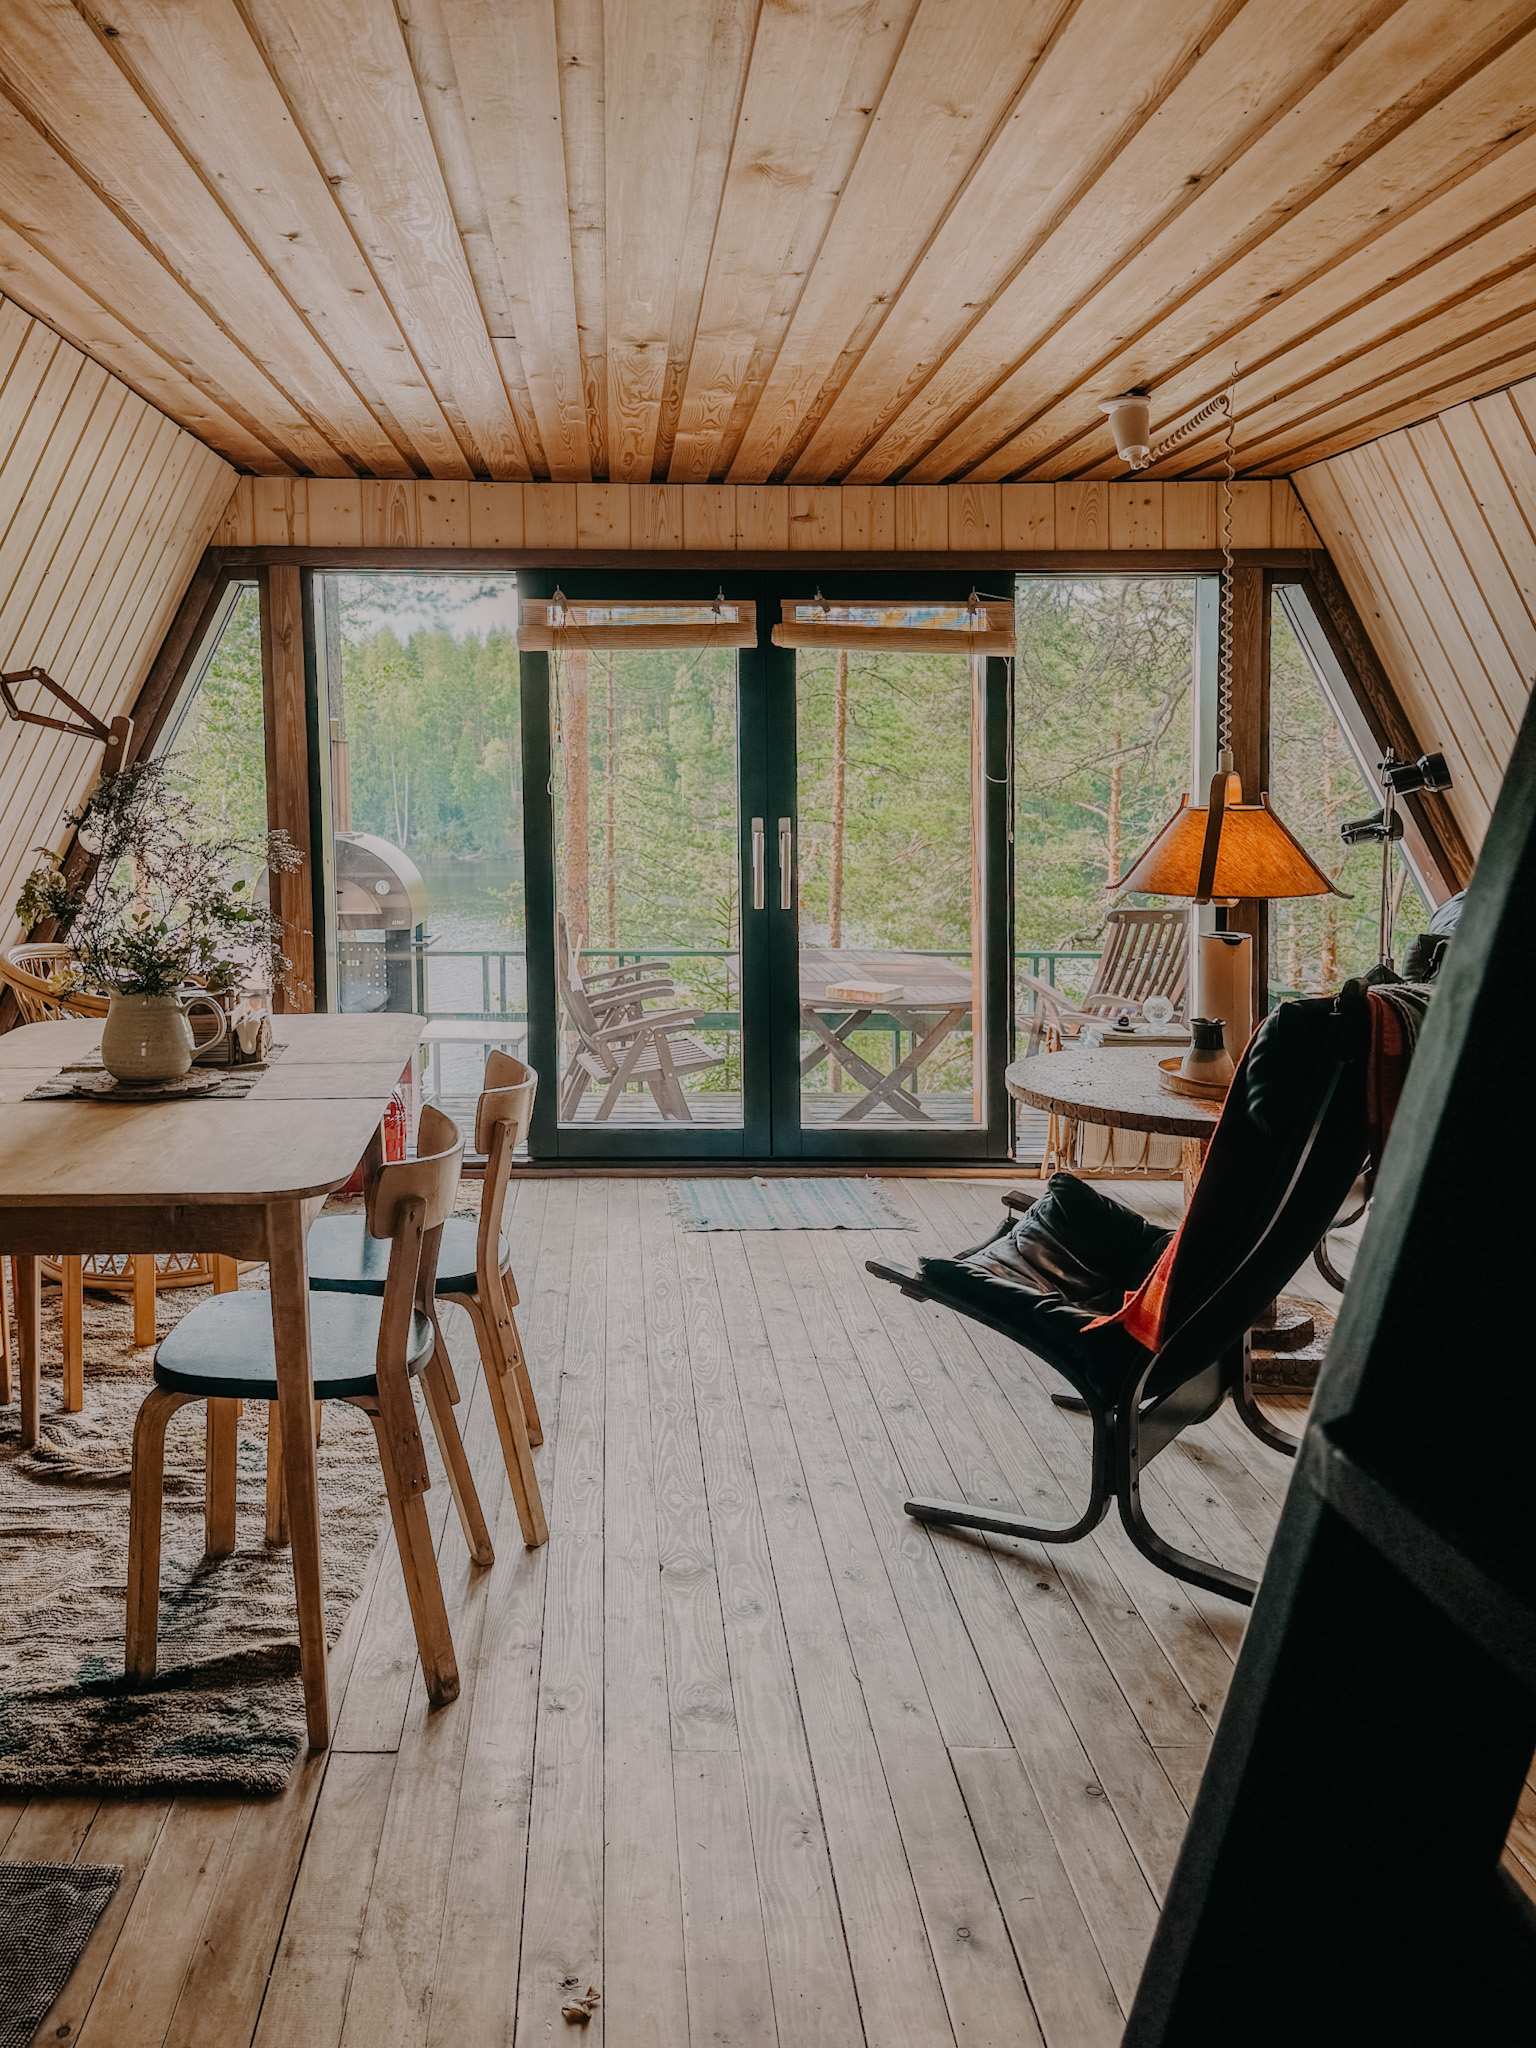
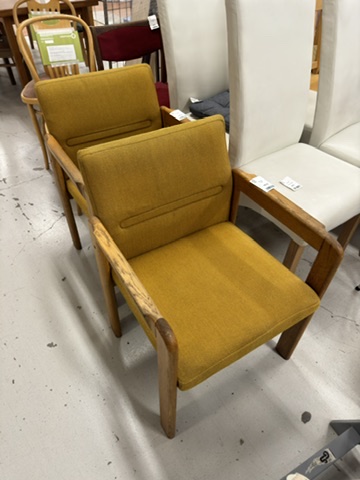
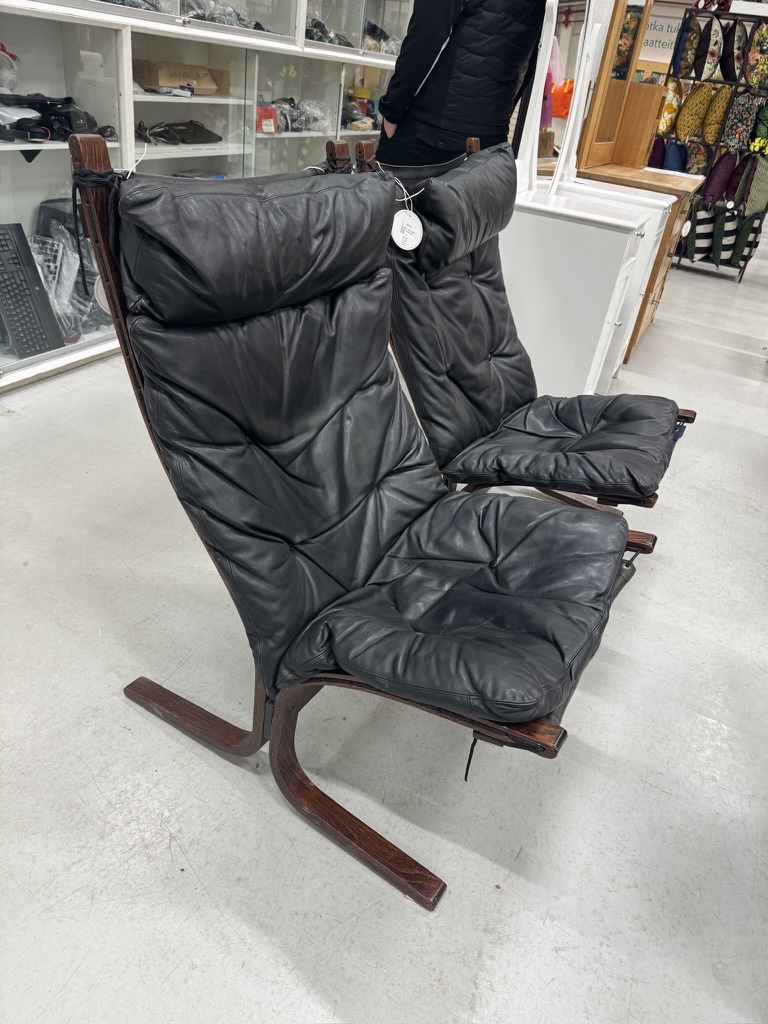
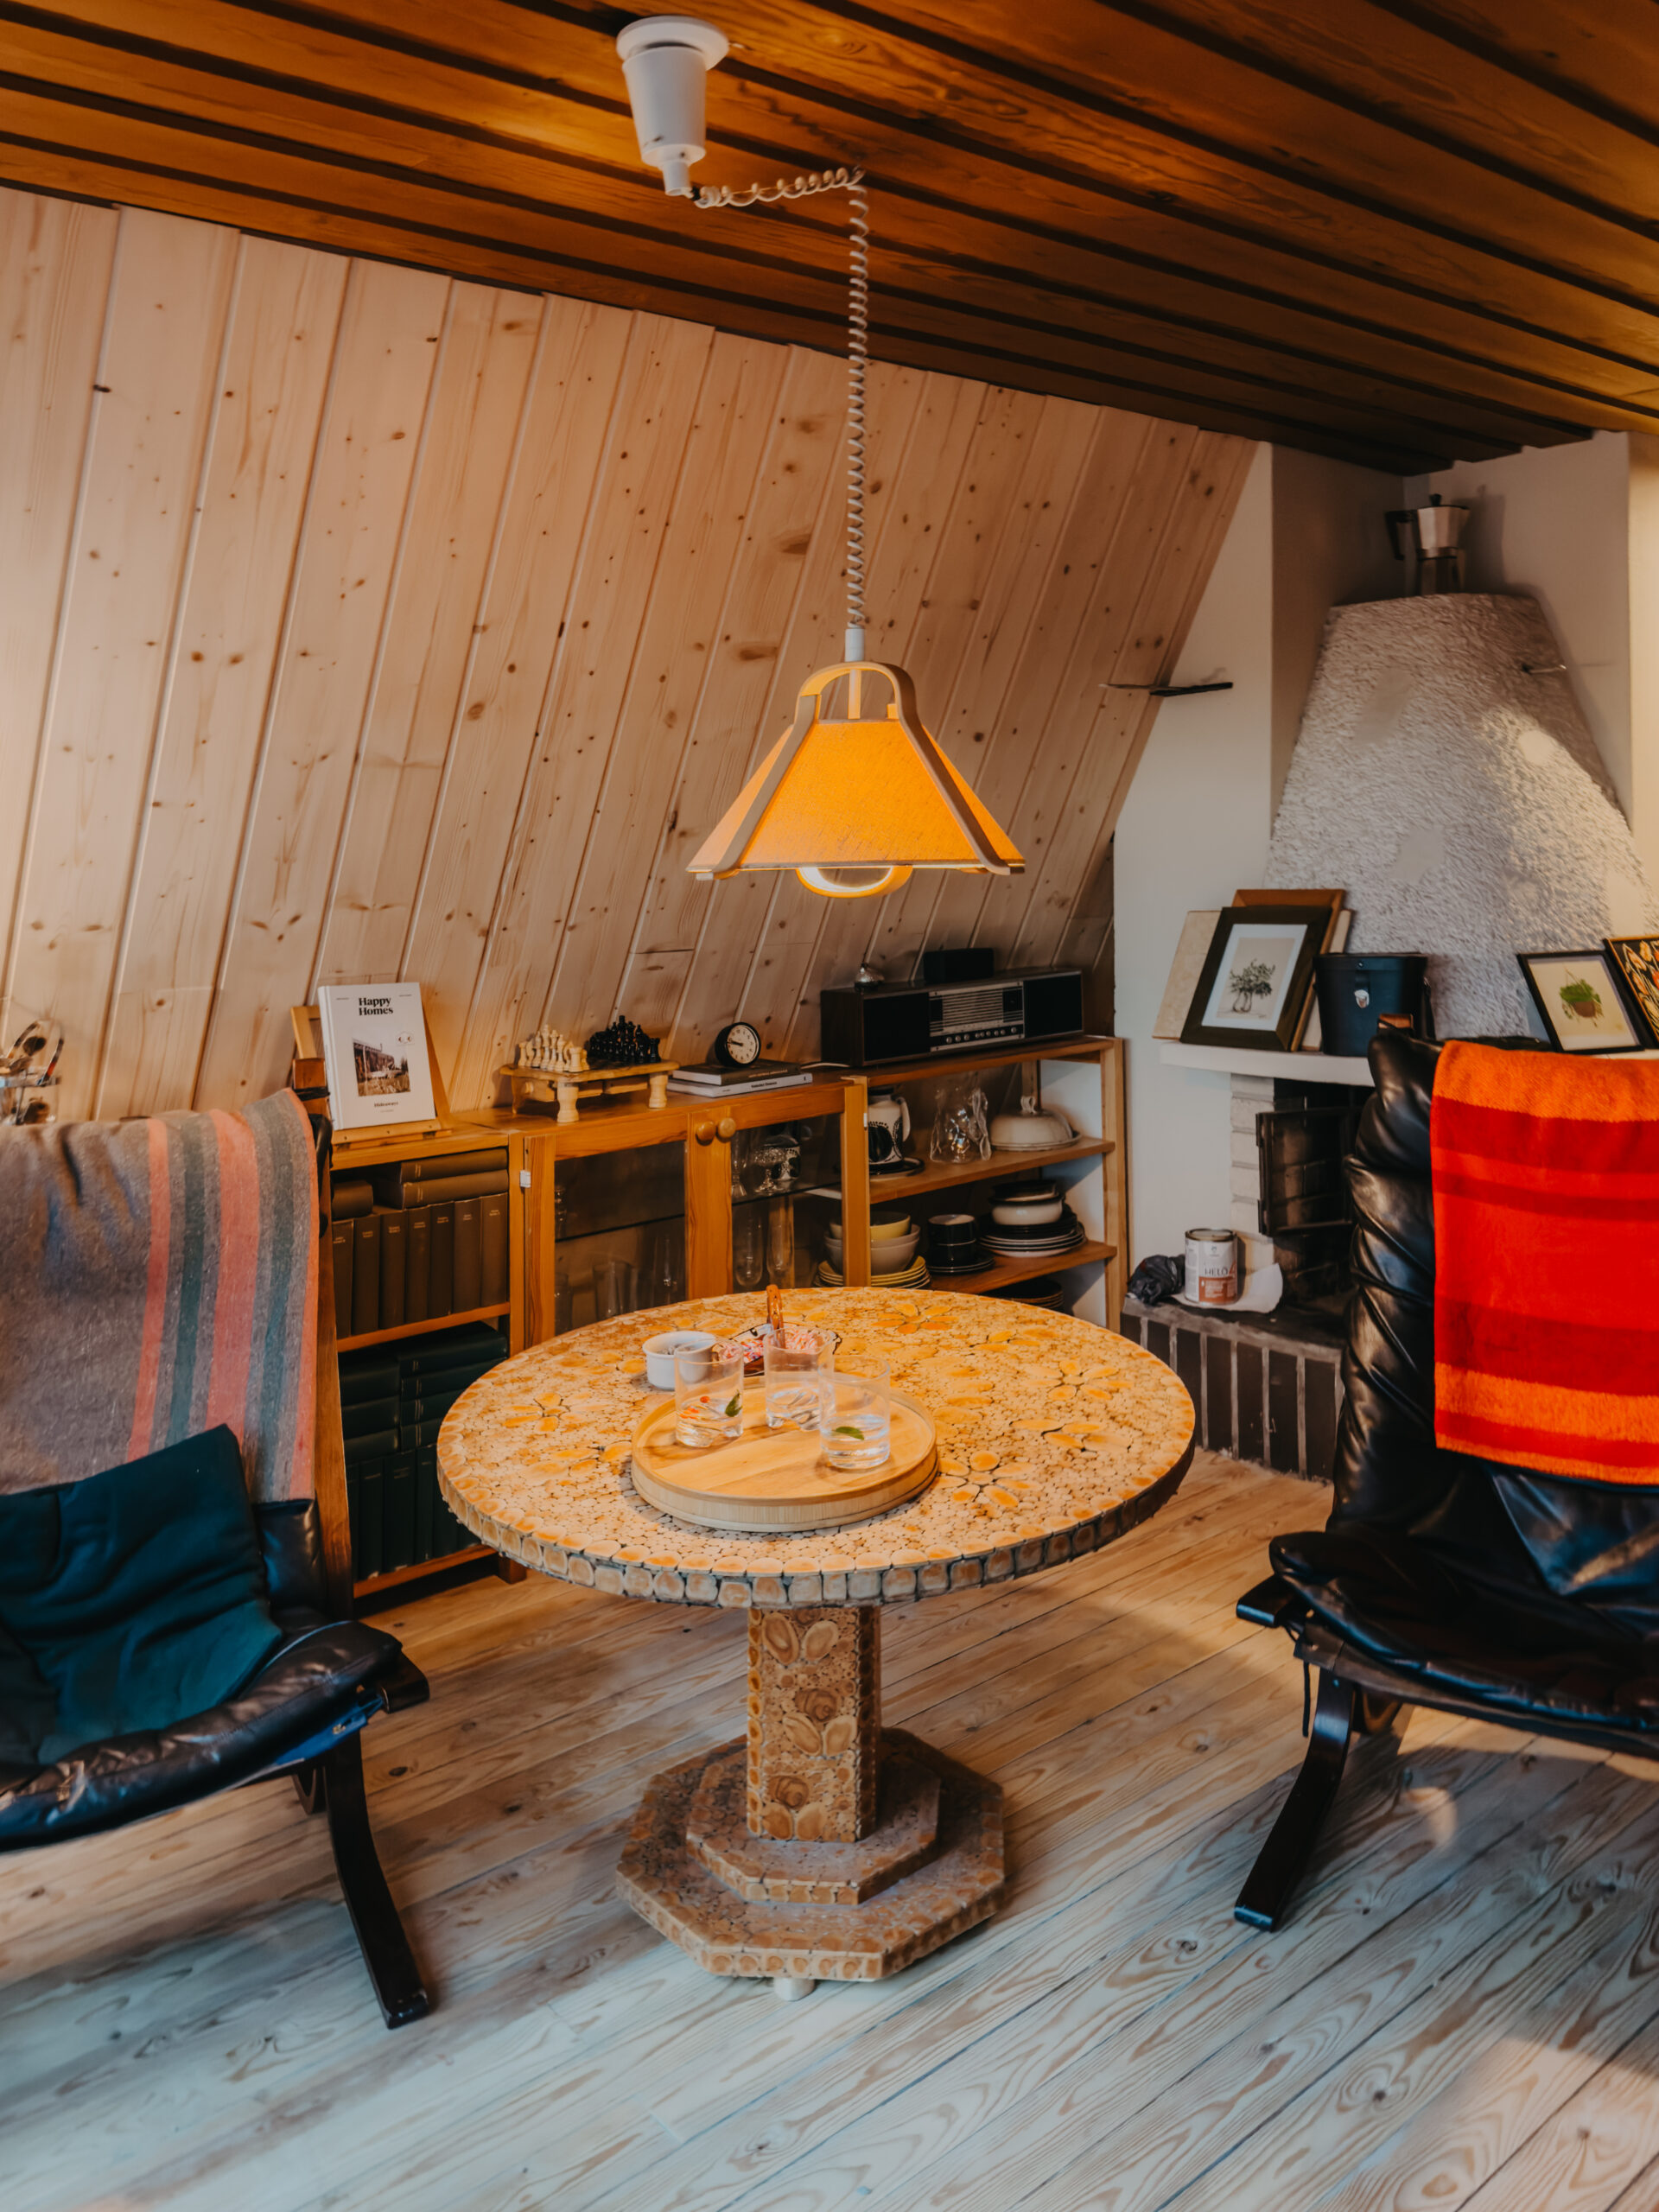
The highlight: the vintage Westnofa Siesta chairs that I found at the recycling centre for a ridiculous price. They make quite a statement with the black leather, but their slim design takes im very little visual space despite the dark upholstery, and they are so lightweight. Easily my favourite piece so far. 

Tables & Sideboards

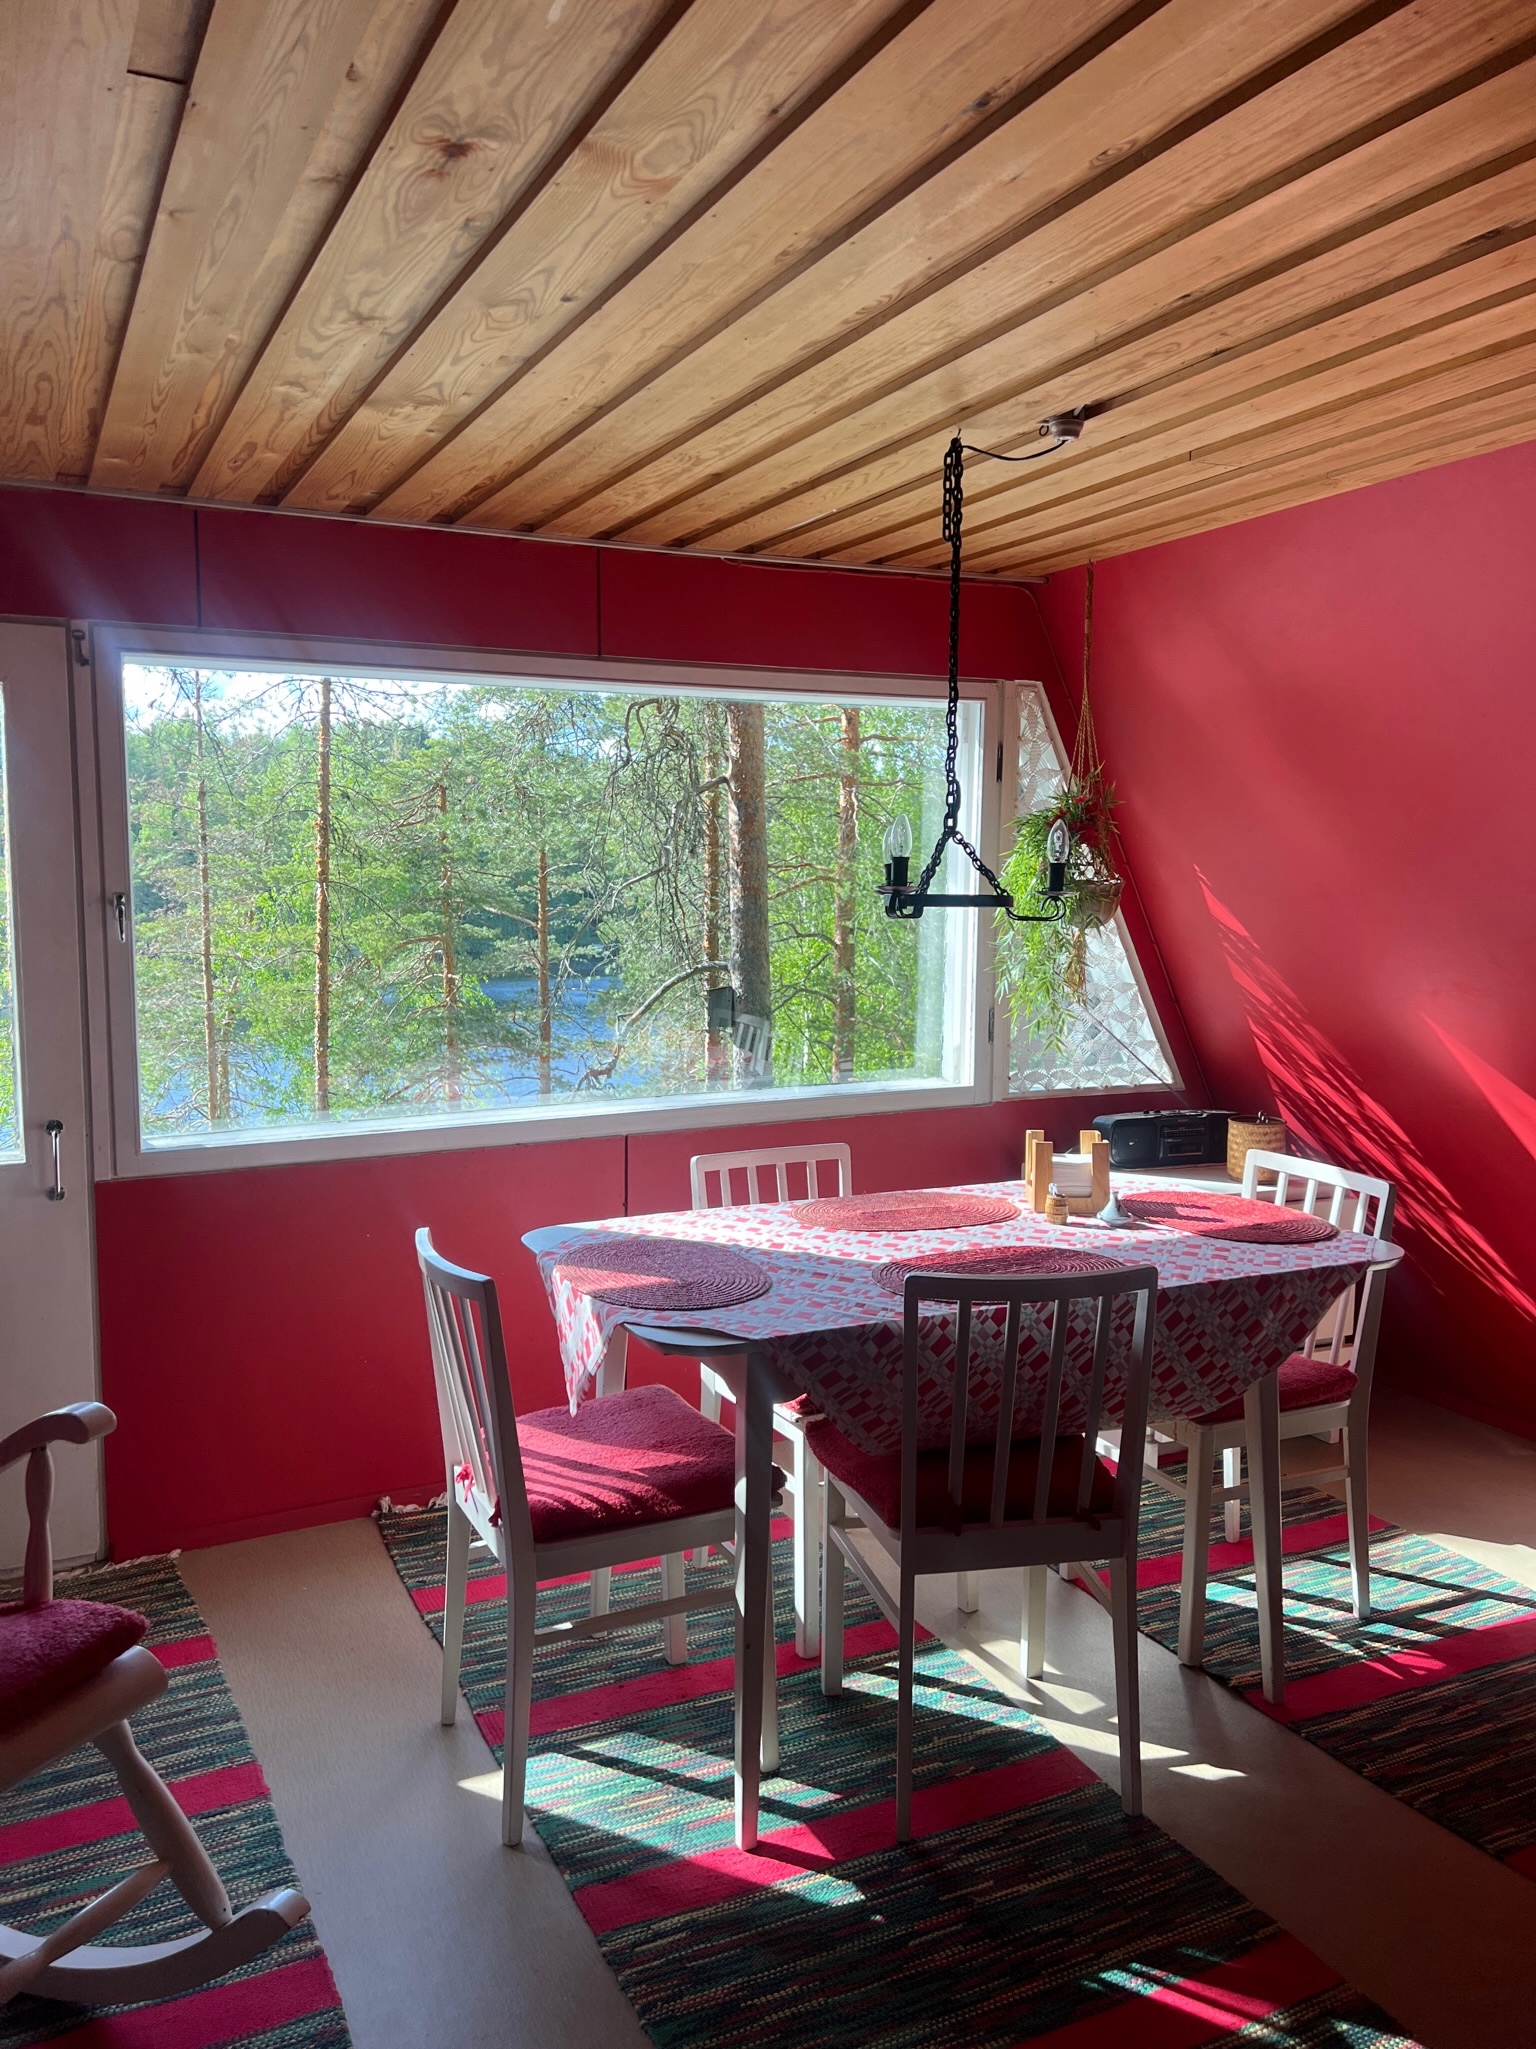
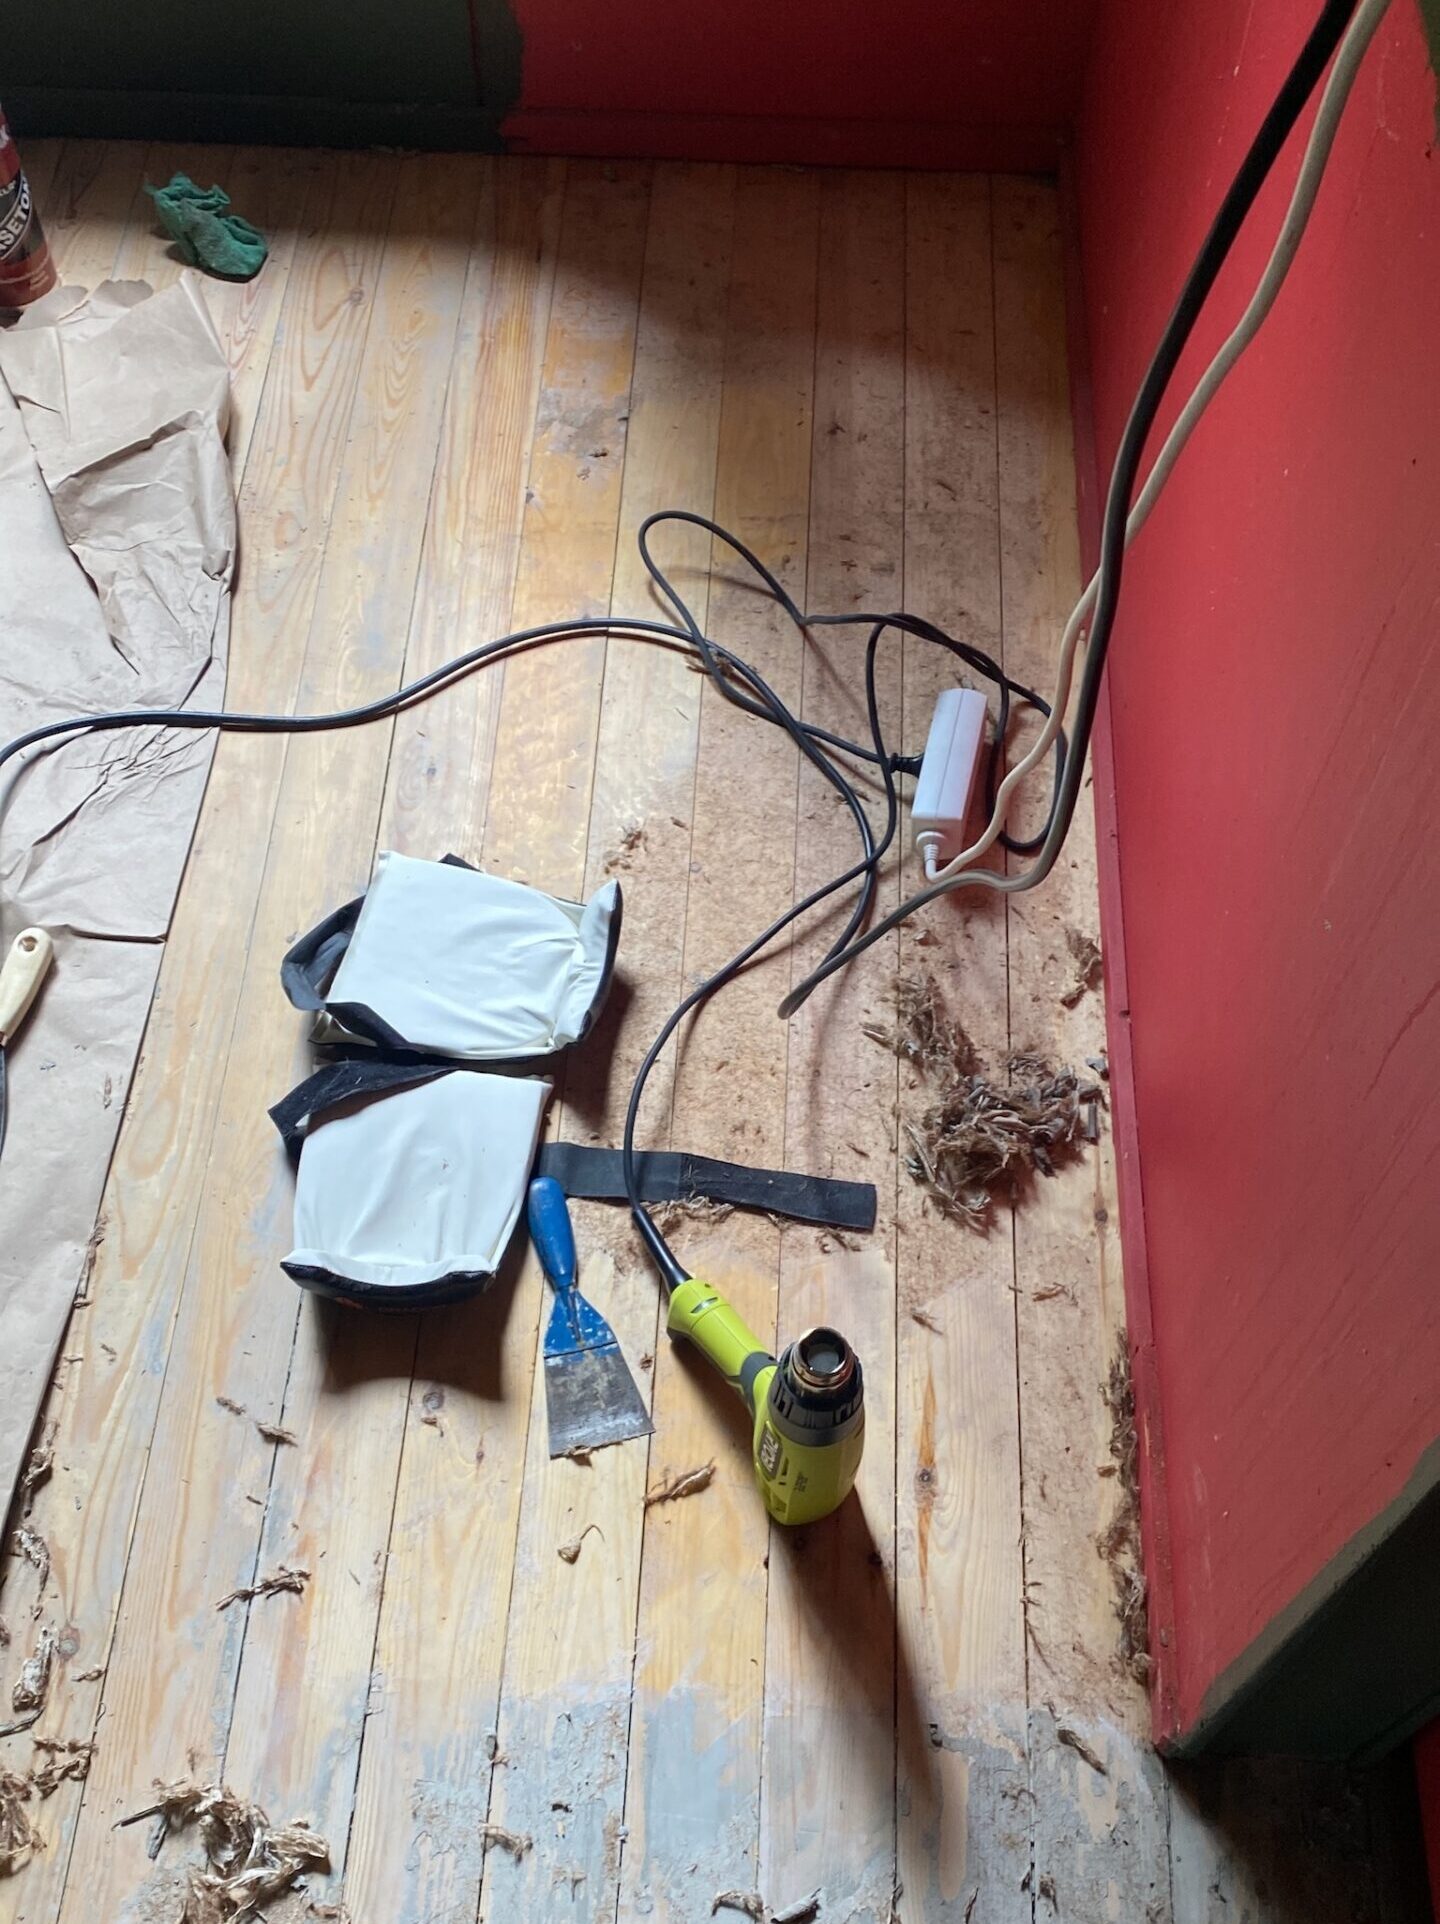
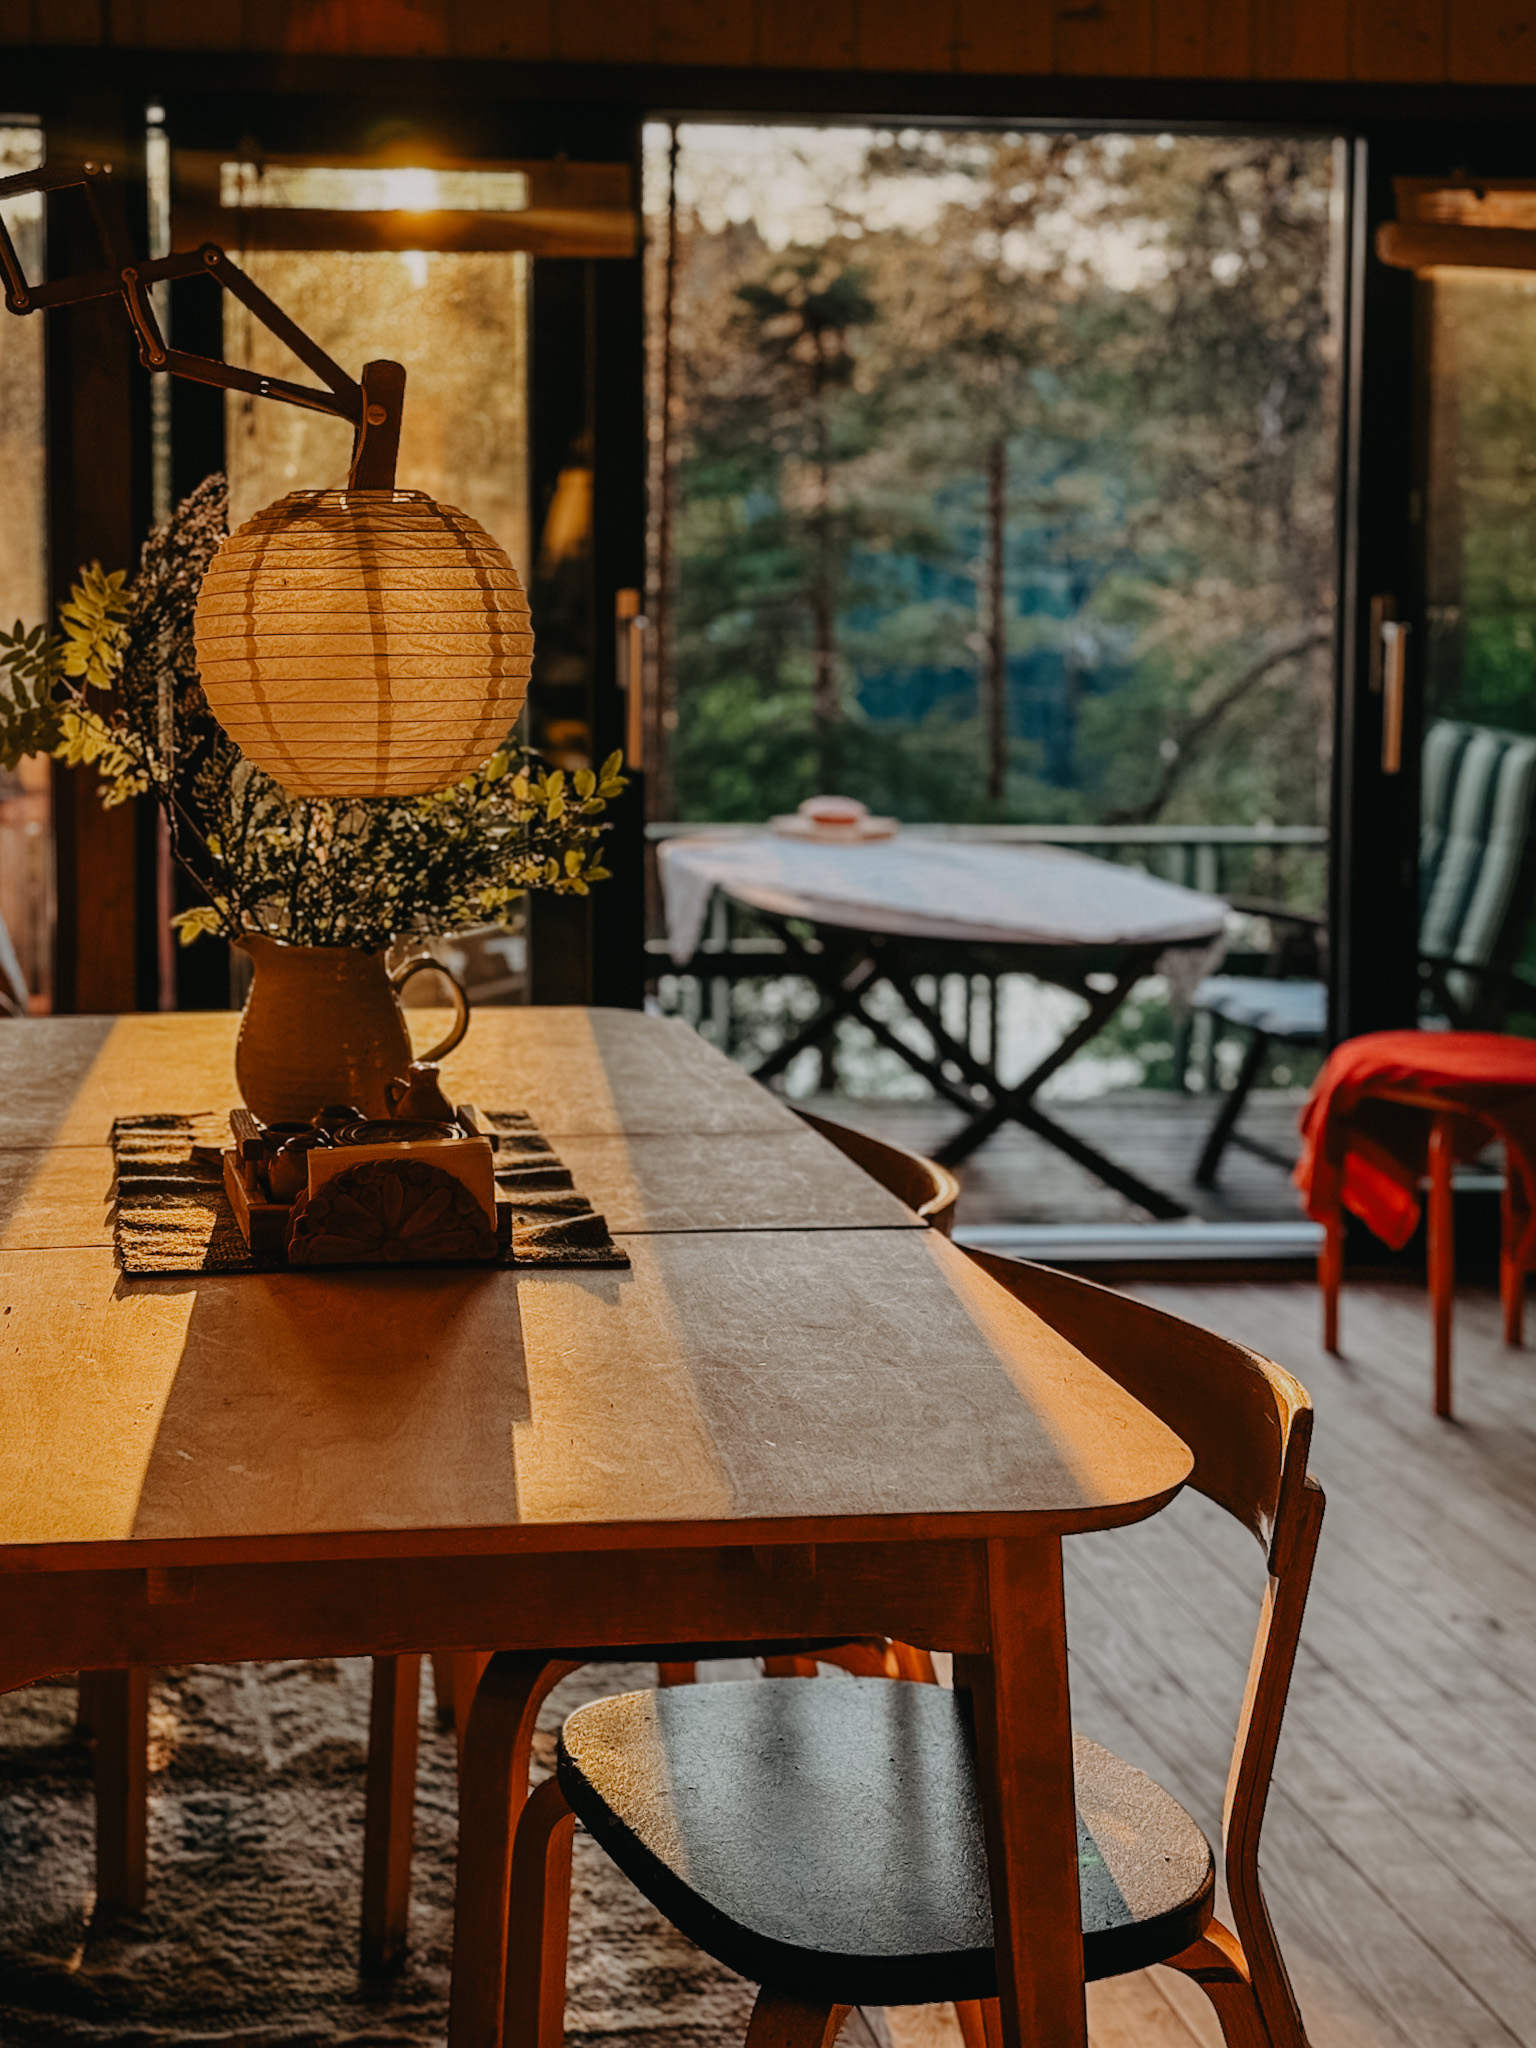
The dining table was my first DIY project that I didn’t entirely mess up, it took a bunch of paint stripper and way too much sanding for my levels of patience. 

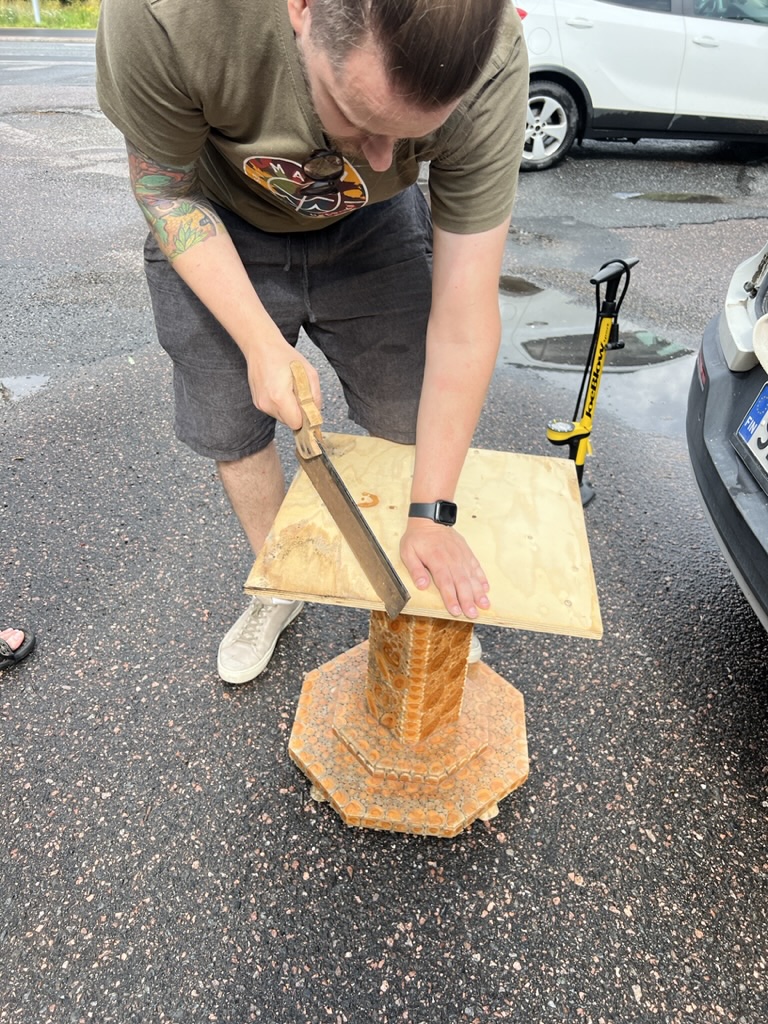
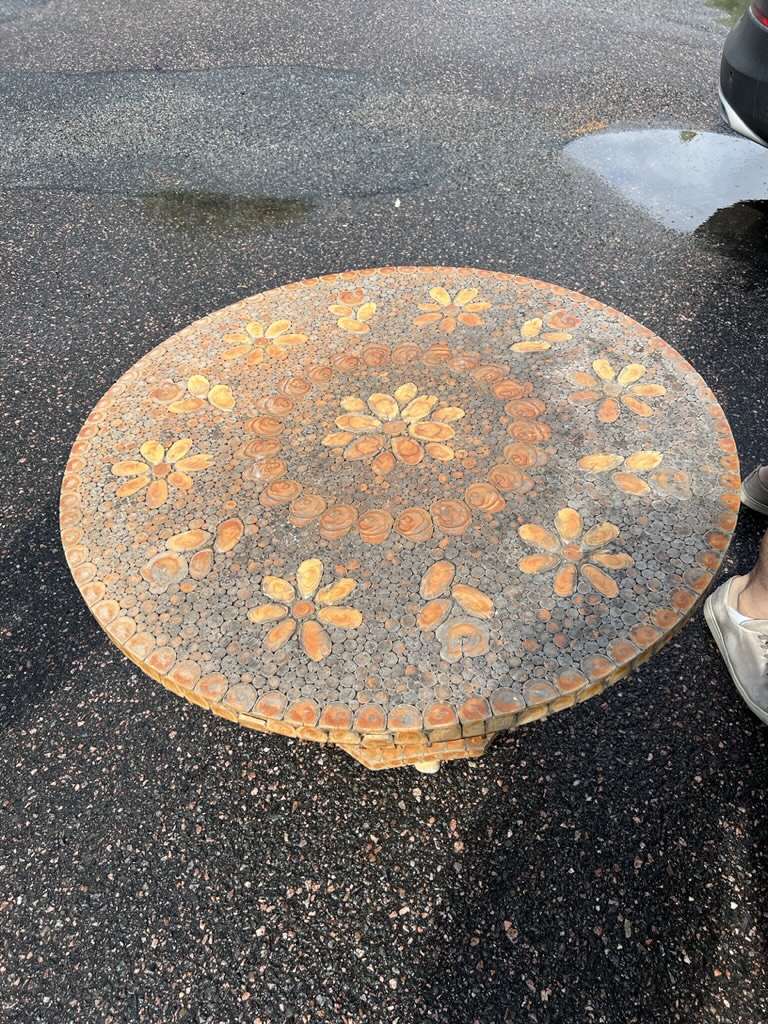
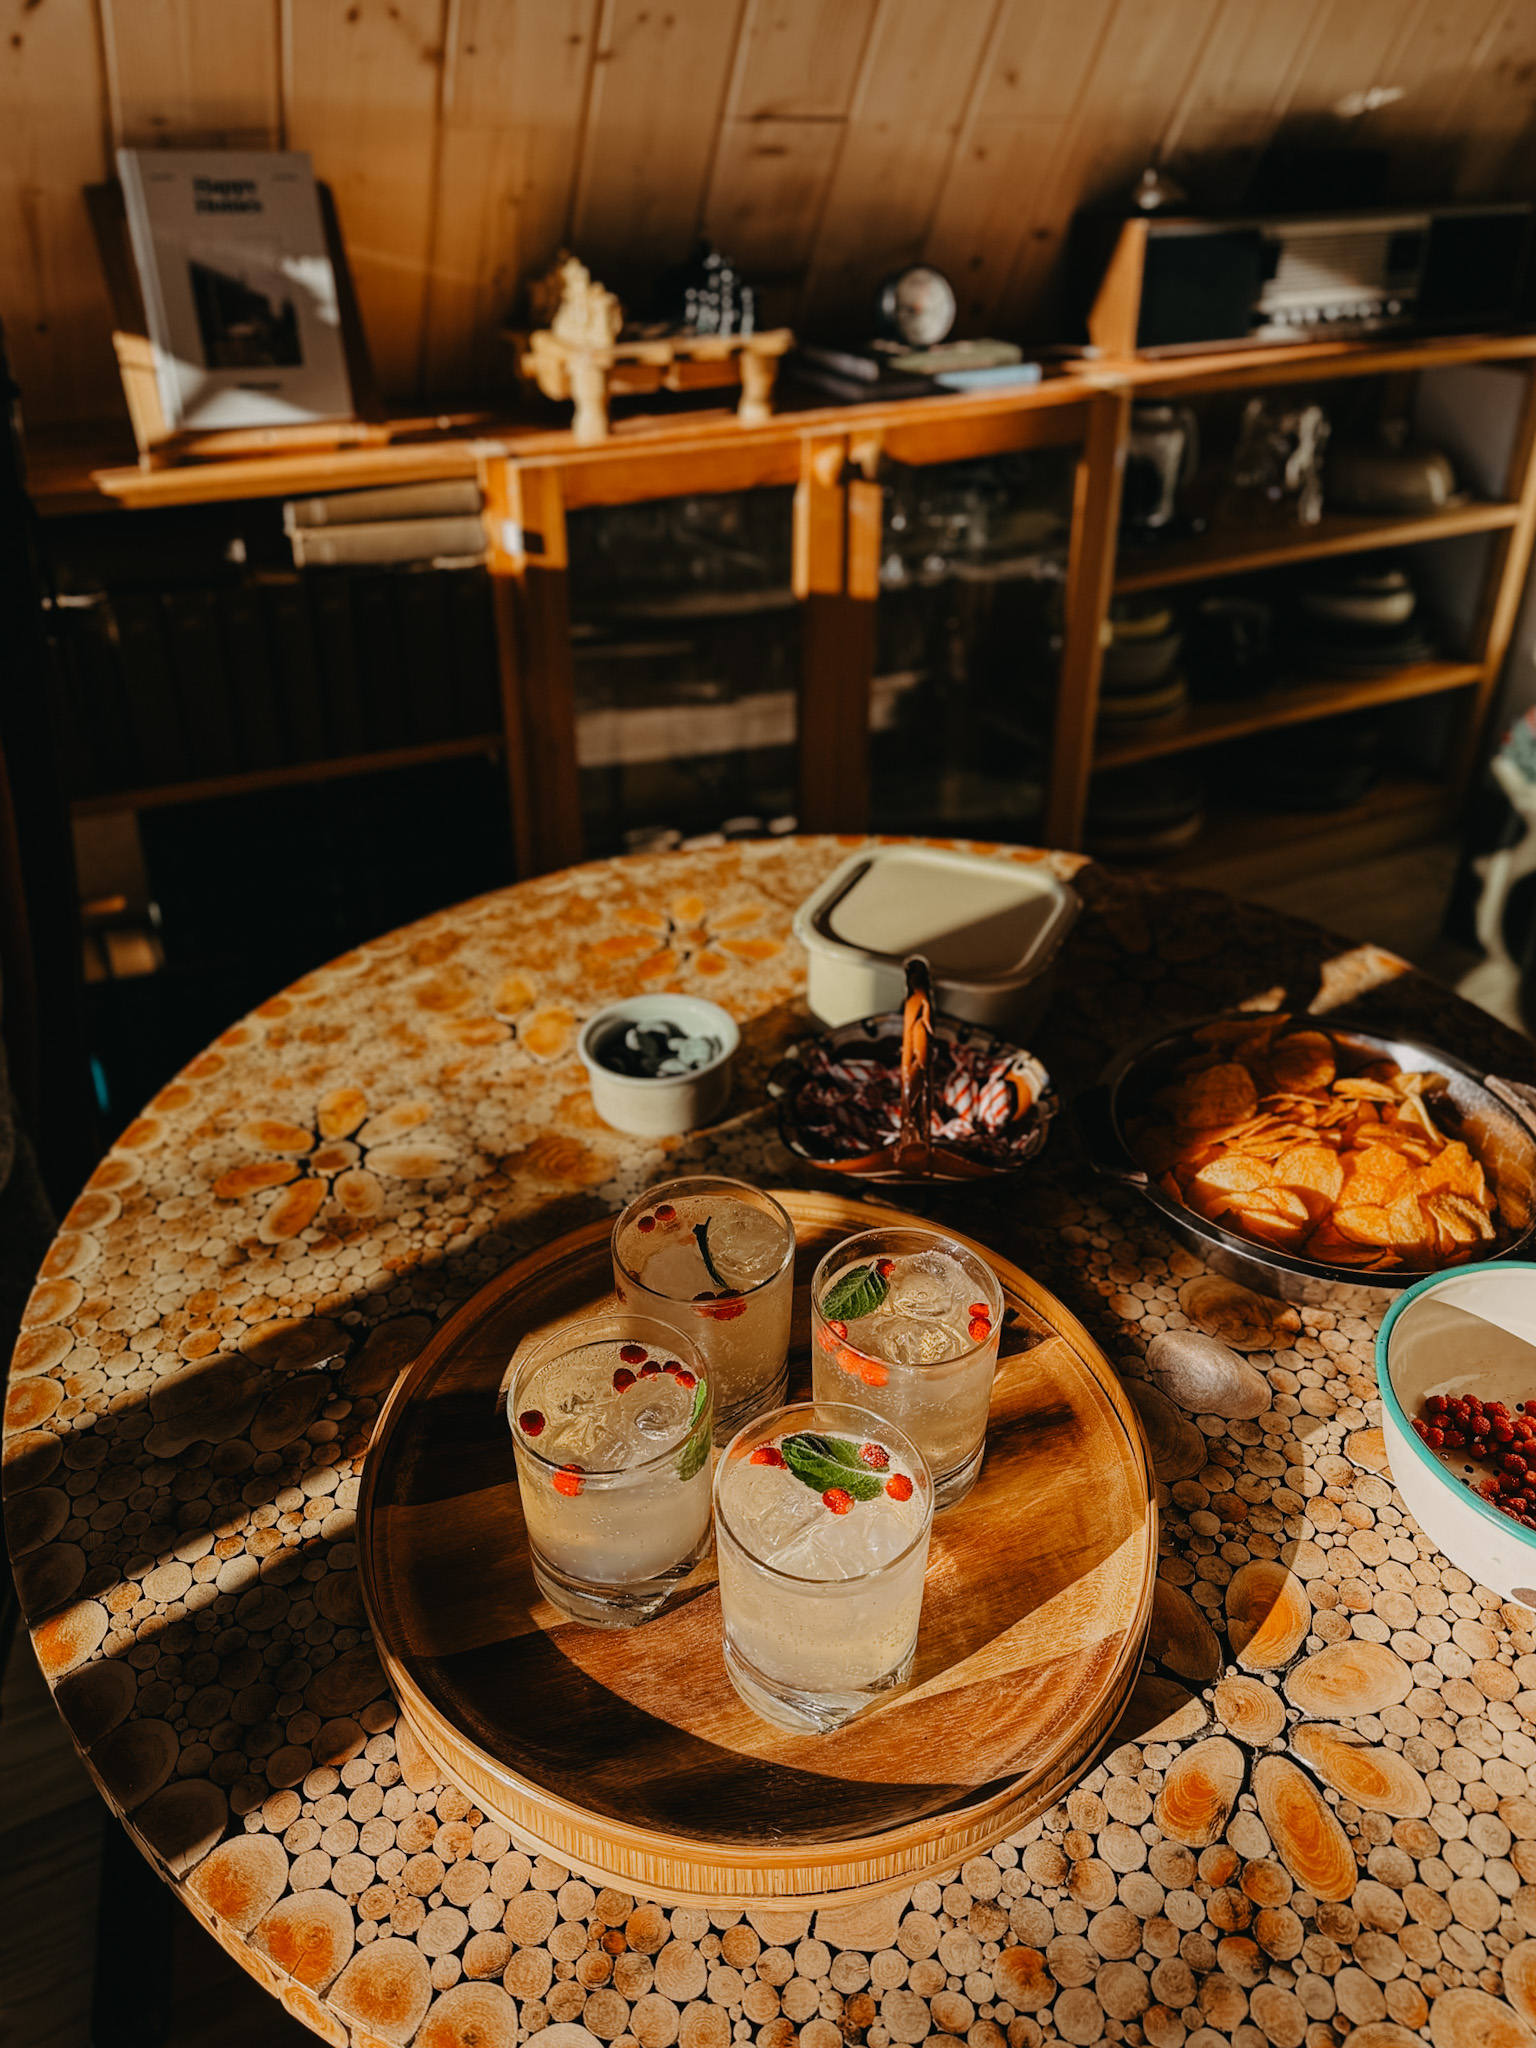
At Eko Aarrekauppa in Mikkeli I saw a stunning birch table, handmade and put together of countless tiny slices of twigs and branches – I loved it and made the executive decision to buy it. The pickup proved difficult, it wouldn’t fit in the car, so it had to be taken apart and the supporting plate sawed off. It was a strenuous moment for this relationship. It didn’t get better when we discovered mold, and the old wood finish had just been grey and crusty. 

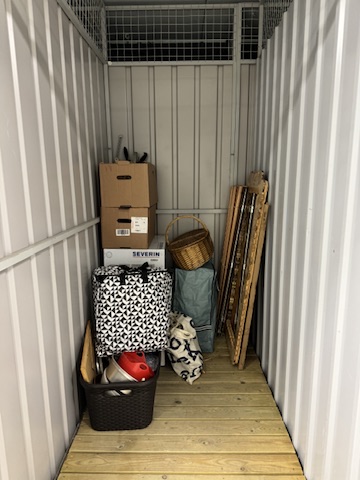
It was hidden in the storage unit for a while, but in summer 2024 I decided to give it a rough sand, get rid of the mold and make it the ultimate statement piece of the living area. It might be a controversial choice, but I love it the most. 

Bonus: a gallery of my thrift finds before styling at Kolmiomökki

5. The Reveal: After the Renovation

Lorem ipsum dolor sit amet, consectetur adipiscing elit. Ut elit tellus, luctus nec ullamcorper mattis, pulvinar dapibus leo.